This is a how-to for the 2008-2020 (Gen 2) Toyota Sequoia standard front brakes. This post will go over replacing the front pads and front rotors. Rear pads & rotors, as well as bleeding the brakes, will be reviewed in a separate post. Do all work at your own risk.
Items/Tools Required:
- 3T + jack & stands
- 10, 12, 17, and 22mm socket
- Breaker bar
- Panel popping tool (or flat head)
- Punch or thin tool
- Pad separator
- Front Pads (I chose Powerstop Z36 pads)
- Wire brush
- Antiseize
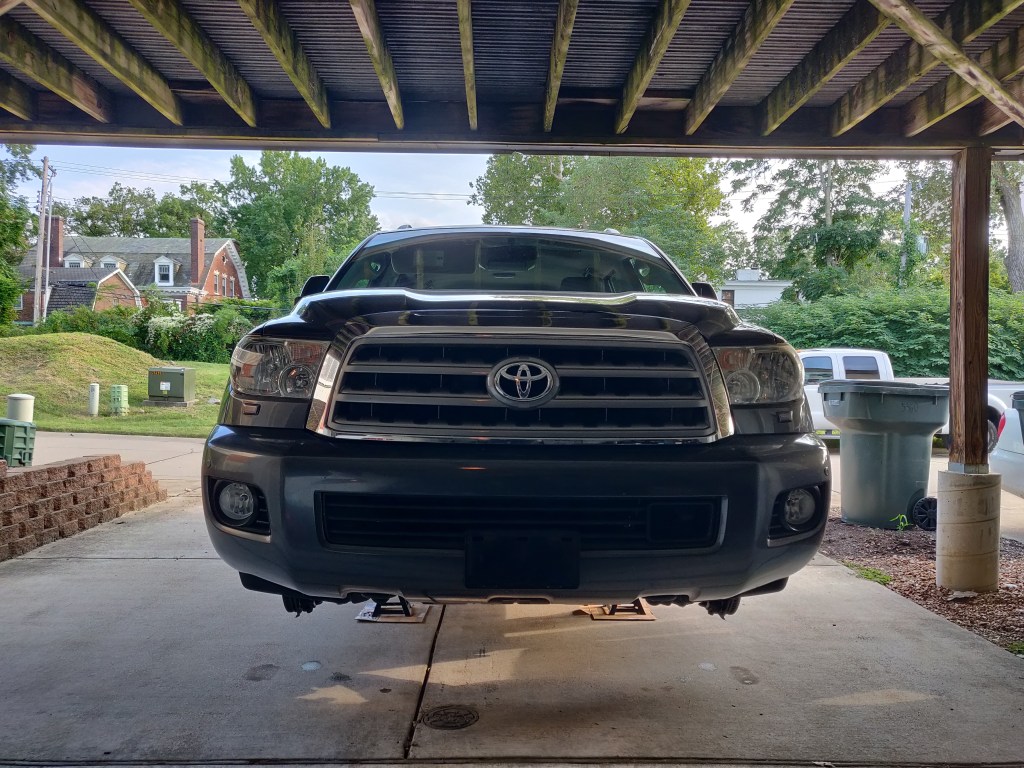
Step 1: Get the car up in the air. Use the appropriate weight jack & stands to do so. Place jacks at factory service points. 22mm Socket to remove the wheels. DO ALL WORK AT YOUR OWN RISK. 
Step 2: Open hood to access the brake master cylinder. 
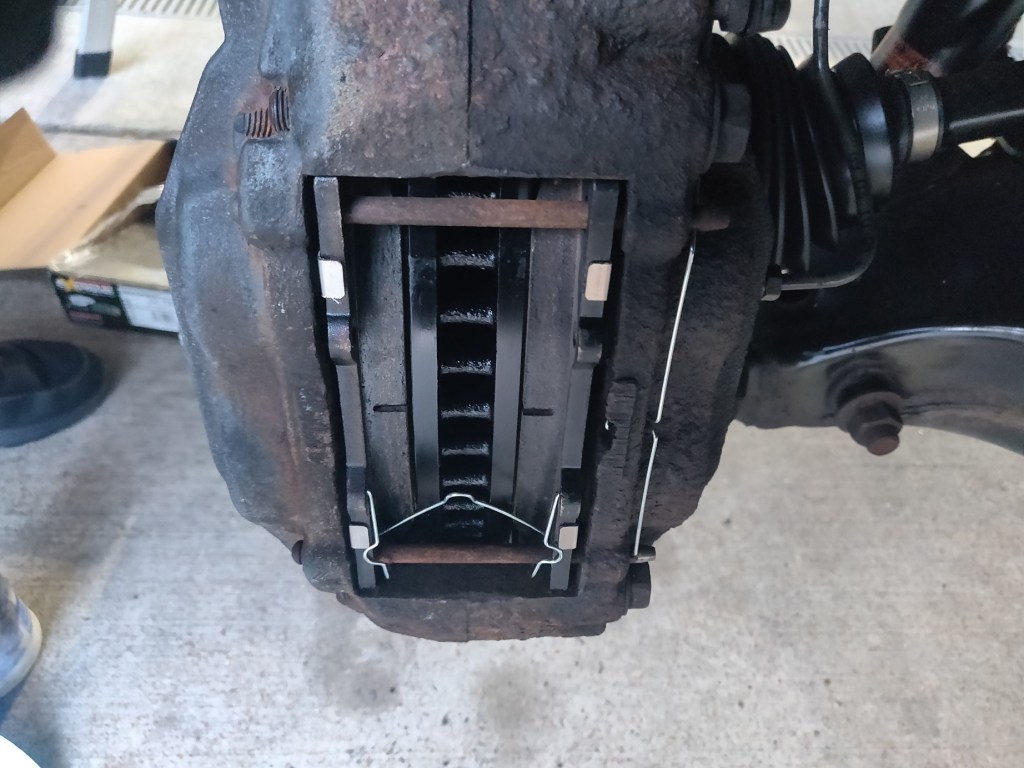
Step 3 (Driver’s side): Pull the outer spring pin from the caliper pins. Comes out with just a pull. Repeat for bottom and you should be able to wiggle out easily. 
Step 4: Pull out the top pin. 
Step 5: Pull out the bottom pin, minding the pad springs. 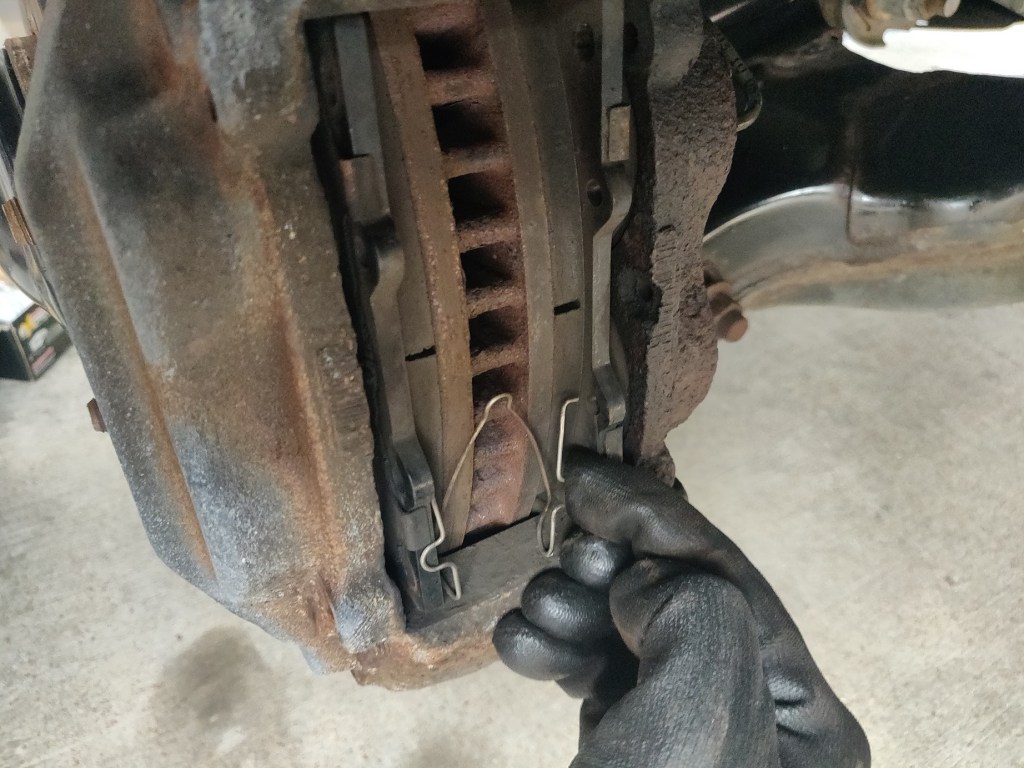
Step 6: Pad springs work similarly. Pinch together to remove and it should come out of the holes in the pads. 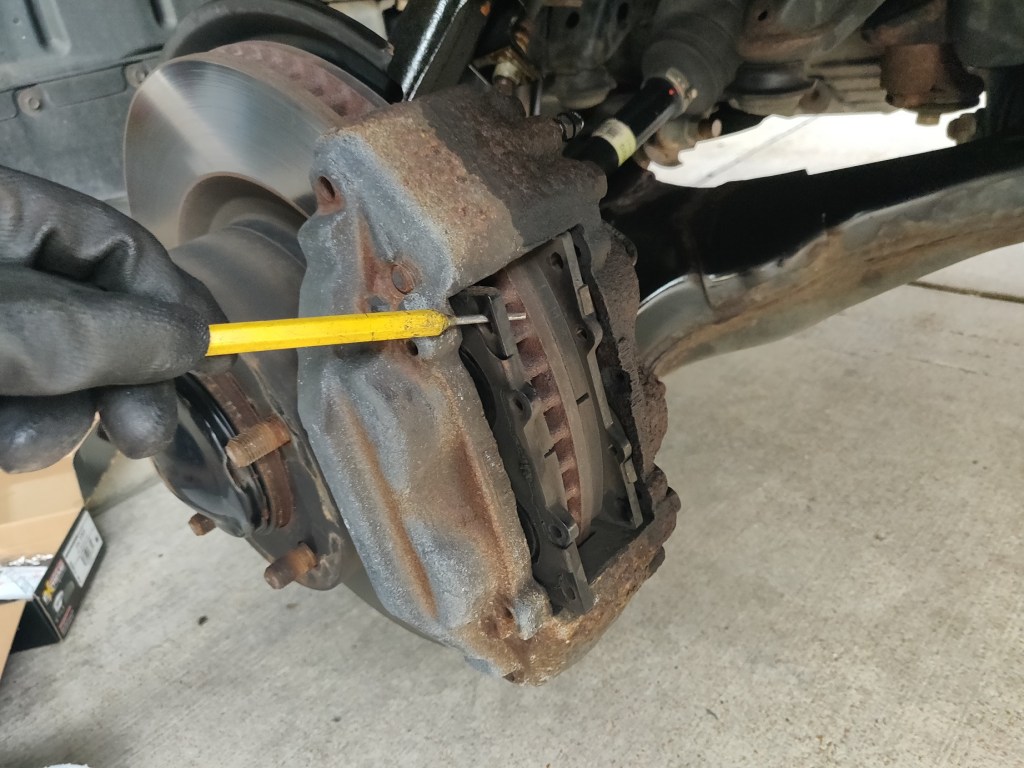
Step 7: Use a punch or thin tool to work out the pads. It is helpful to work back and forth from the top and the bottom. 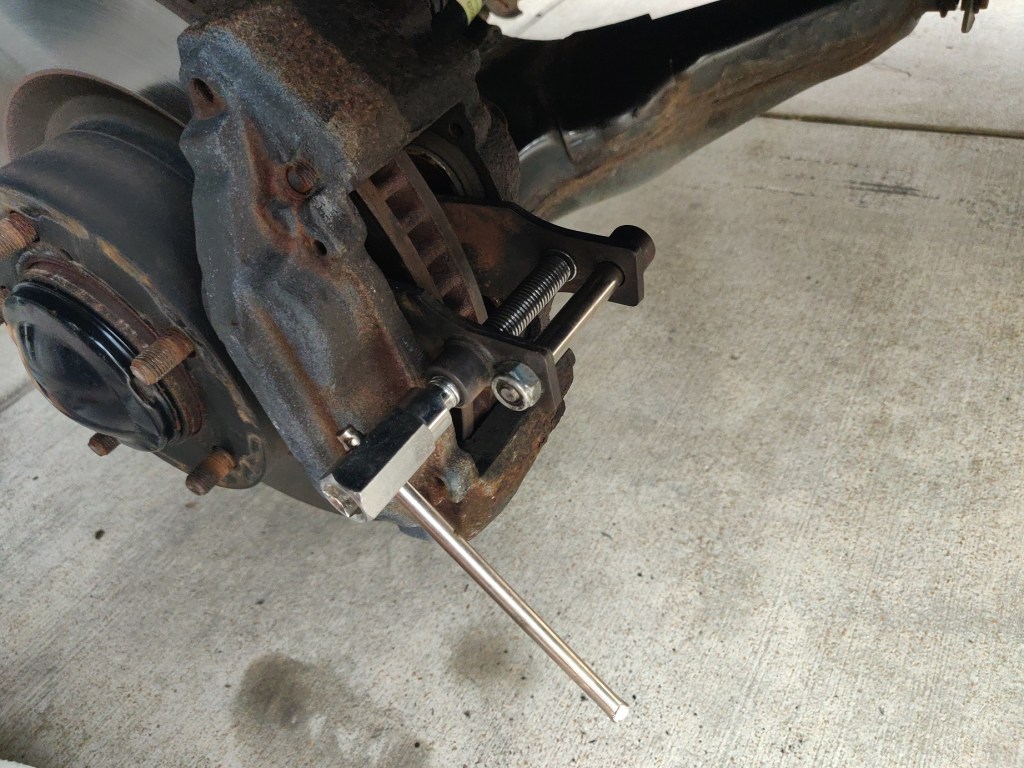
Step 8: Use a pad separator to push the pistons back, which will allow for installing the new pads & rotors. You may need to siphon some brake fluid out at the top. 
Step 9: Loosen the 12mm bolt holding the brake line here. 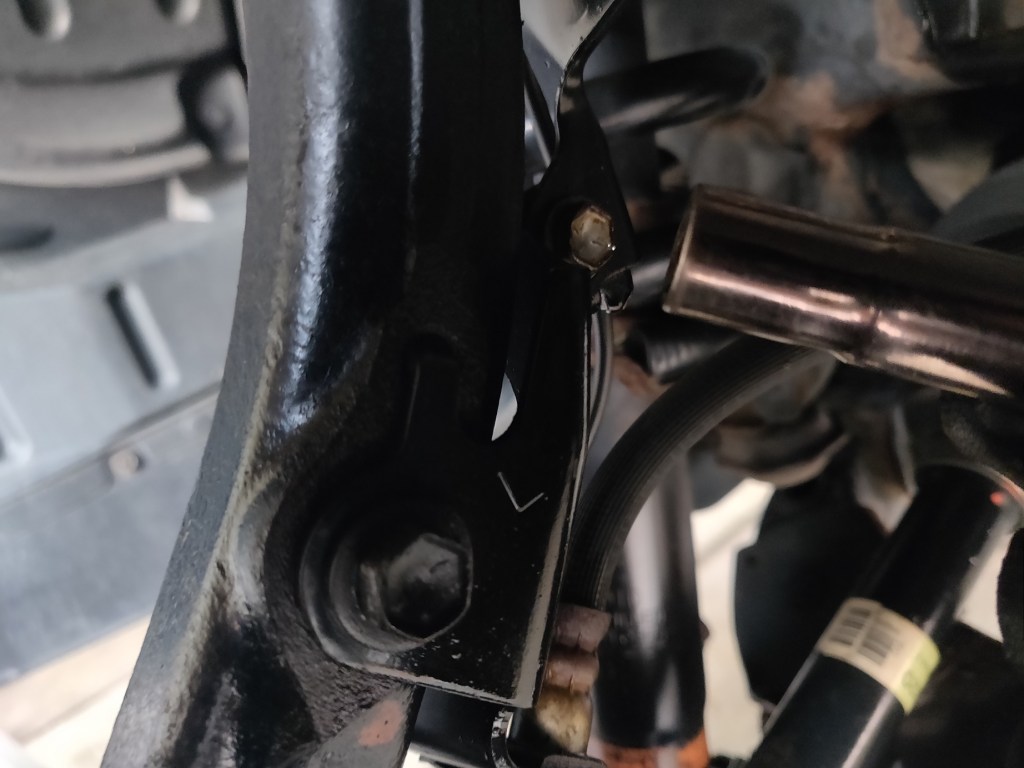
Step 10: Loosen the 10mm bolt holding the brake line here. 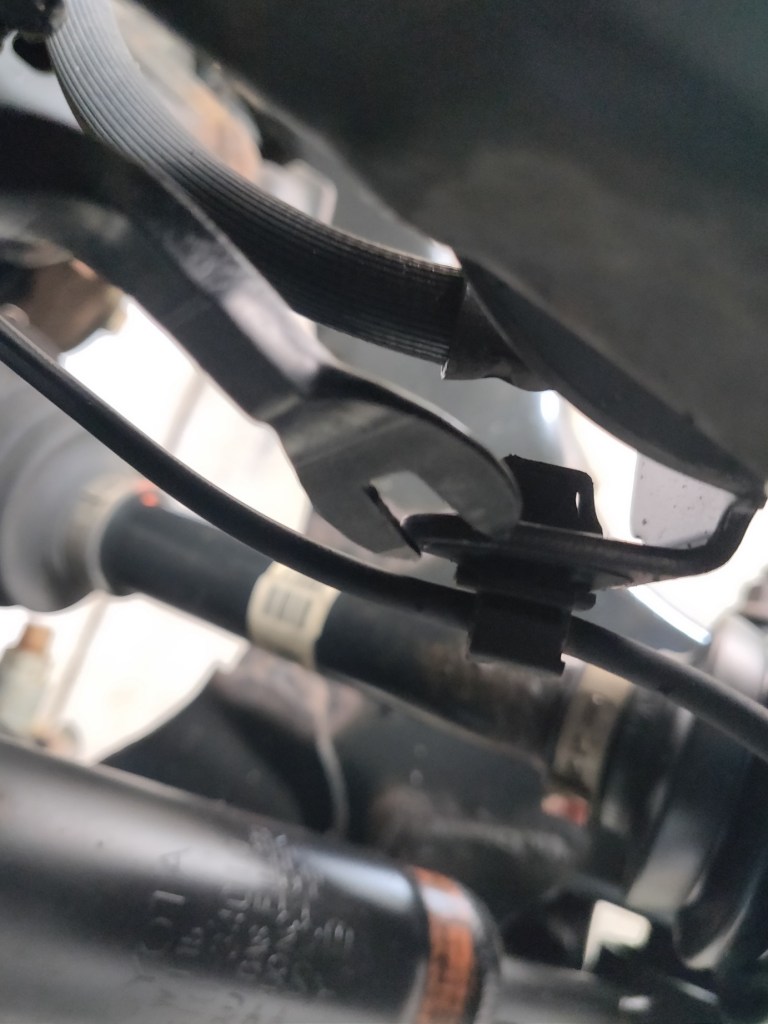
Step 11: Pop out the clip holding the brake line here. 
Step 12: Break off the 2 bolts holding the caliper onto the car. These take a 17mm socket. 
Step 13: Repeat for the rear. The top and bottom bolts are the same. Go back and fully remove the 12mm and 10mm bolts in Steps 9 & 10, and fully remove the 17mm bolts. 
Step 14: Set the caliper down on a box or so it doesn’t hang. 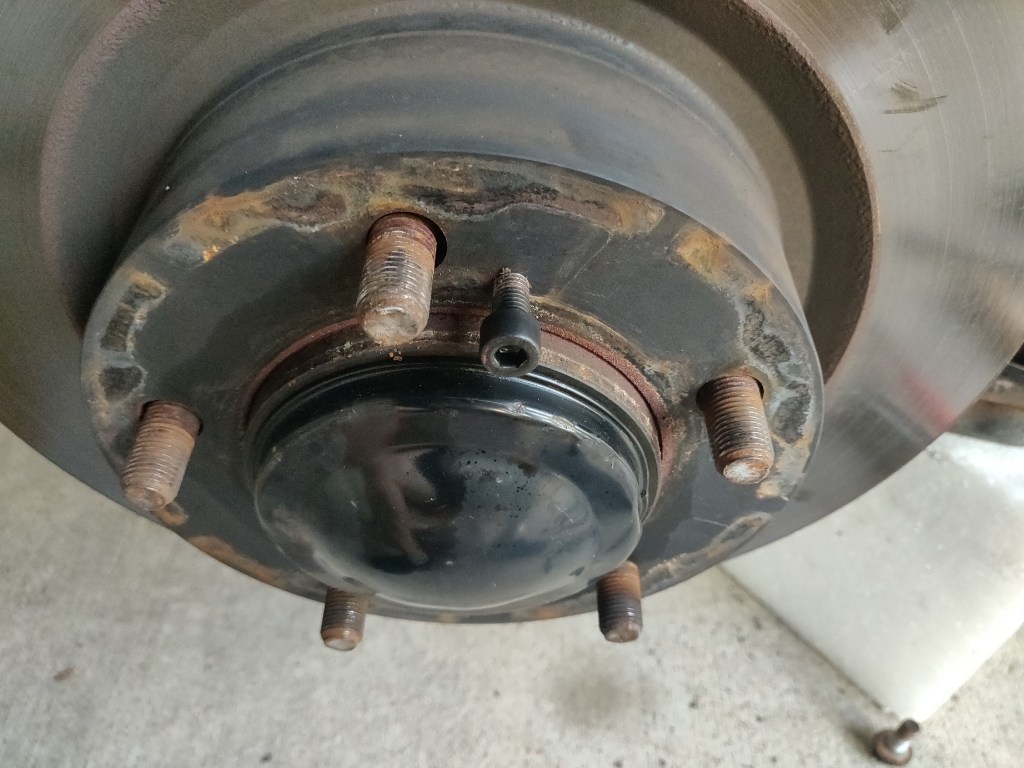
Step 15: The simplest way to get the rotor off is to use a screw to push it out. Most rotors will have a screw hole to do this, but the screw size may depend on the rotor. 
Step 16: Once the rotor is off, use a wire brush to clean the surface. 
Step 17 (Optional): I coat the surface of the hub with antiseize so the rotor does not seize in the future. 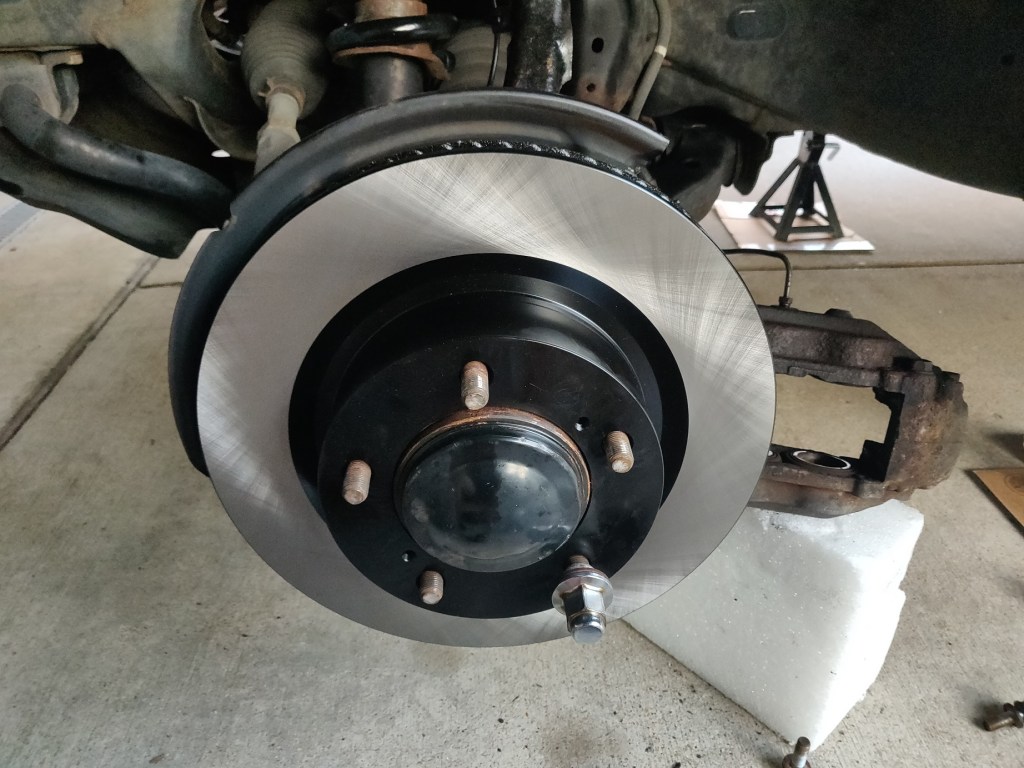
Step 18: Mount the new rotor. I use a vented Centric blank (120.44156) 
Step 19: Remount the caliper. It may be tricky to hold the rotor in place, but that will help mounting the caliper back. Temporarily install a lug nut if the rotor seems like it will fall off. Same 17mm bolts as before. 
Step 20: Install the pads. It may take some finessing to work them in. Push in until they are aligned with the caliper pin holes. I had to lightly use a hammer to tap them in until they aligned. 
One side in. 
Other side going in. 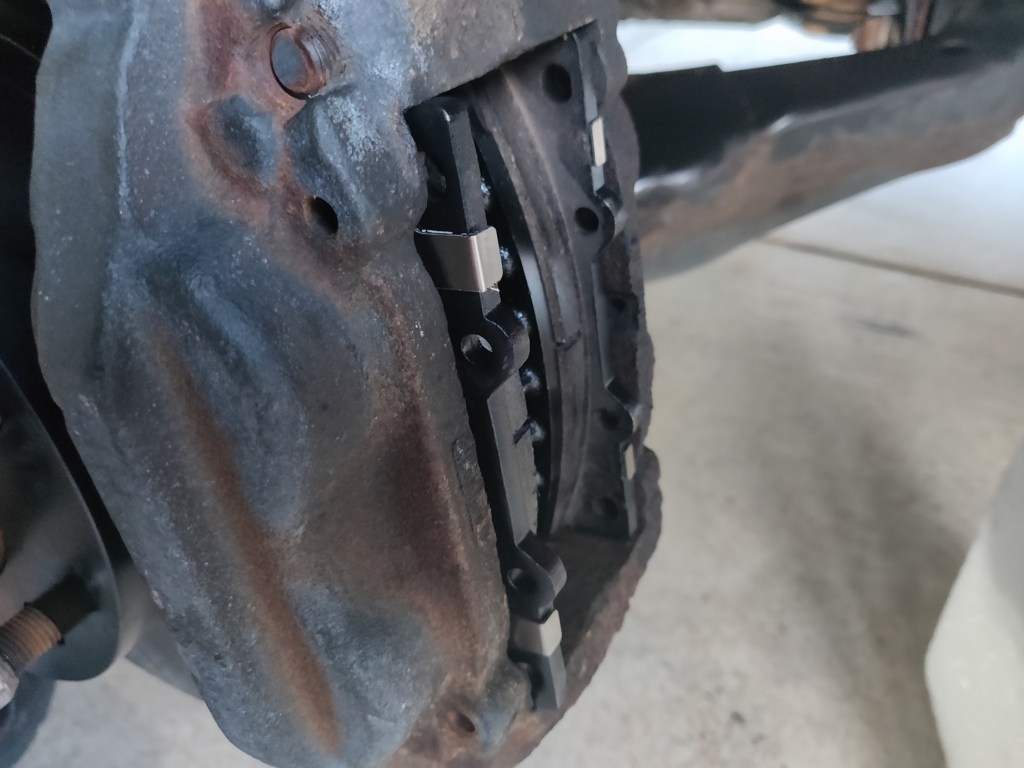

Step 21: Make sure both pads are aligned so that the caliper pins will go in at the top and the bottom. Install the top pin all the way in. 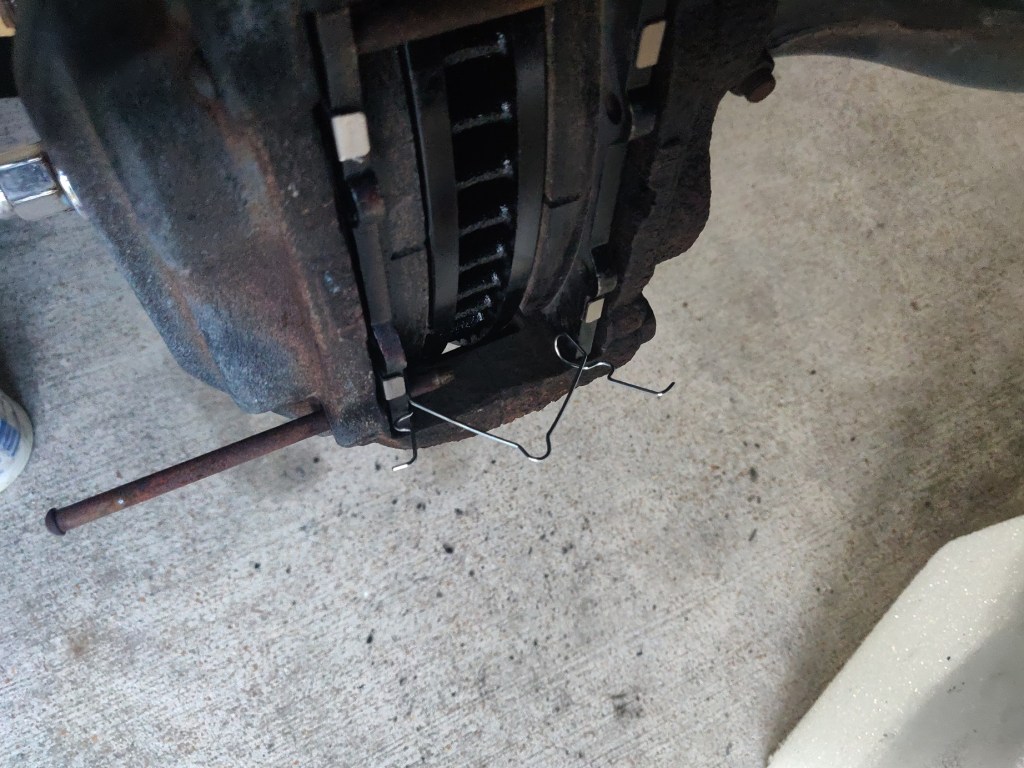
Step 22: Before installing the bottom pin, install the new pad spring as shown here. The pin should slide through the hoops of the spring. 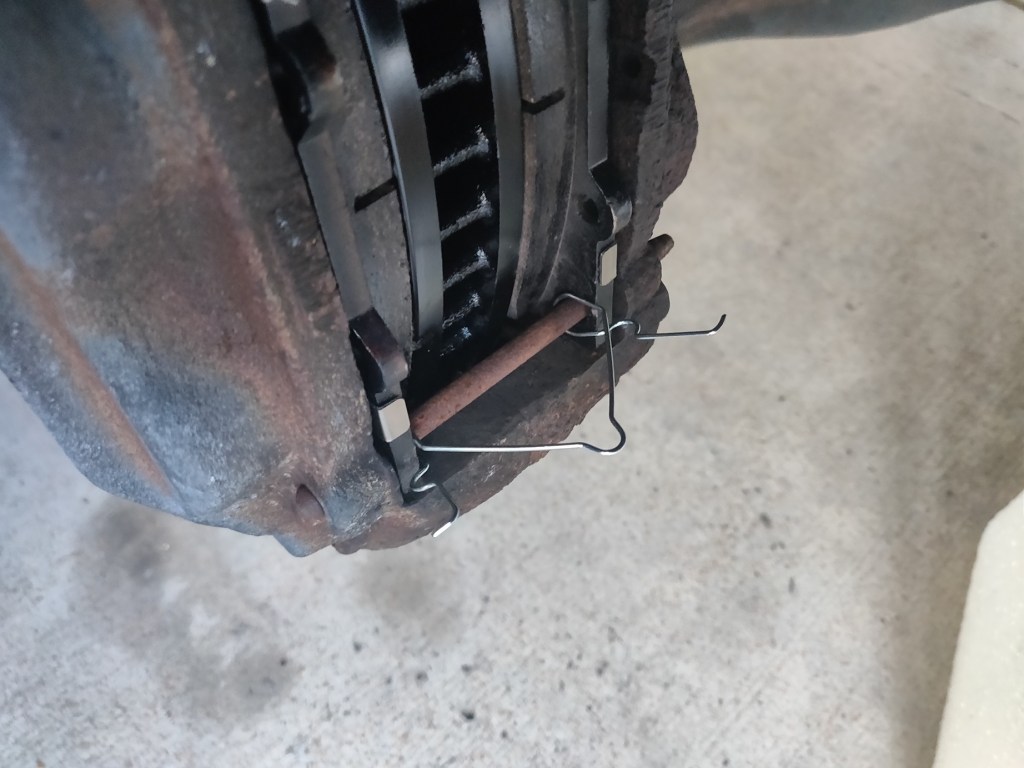
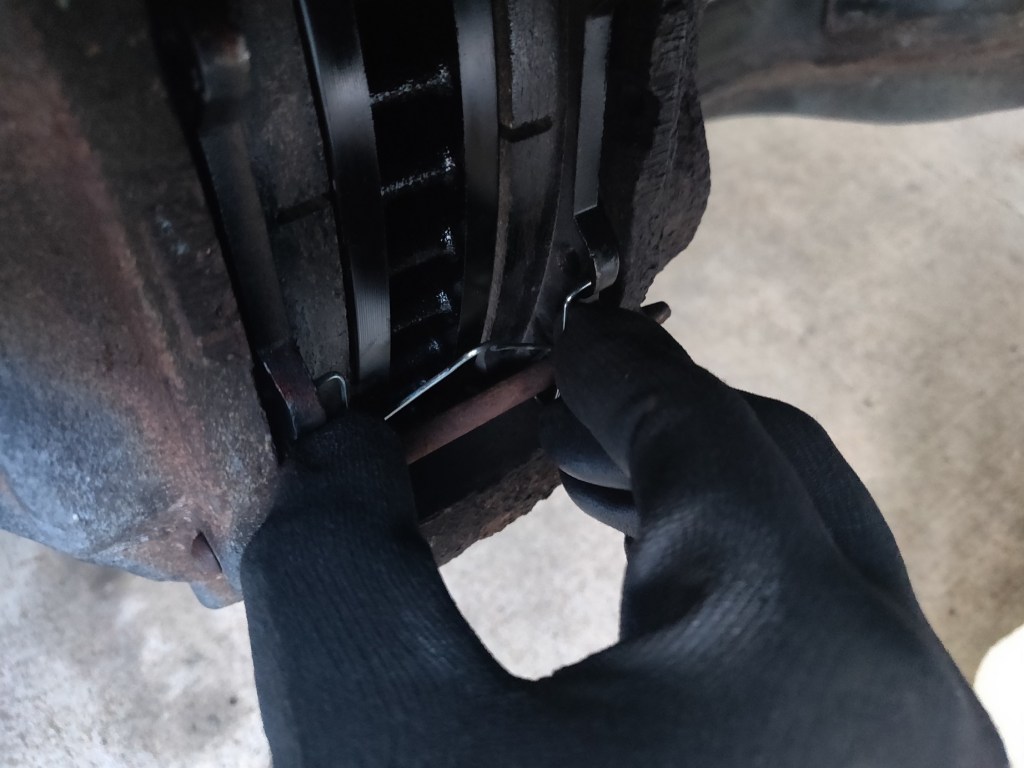
Step 23: Rotate the spring up, and pinch together to insert the ends into the receiving holes in the pads. 
Step 24: Reinstall the outer spring. It is easier to insert into one hole first, then in the center, then the final pin. The pins will probably need to be rotated to accept the spring ends. 
Step 25: Install complete. Tap the brake pedal until firm before driving anywhere. 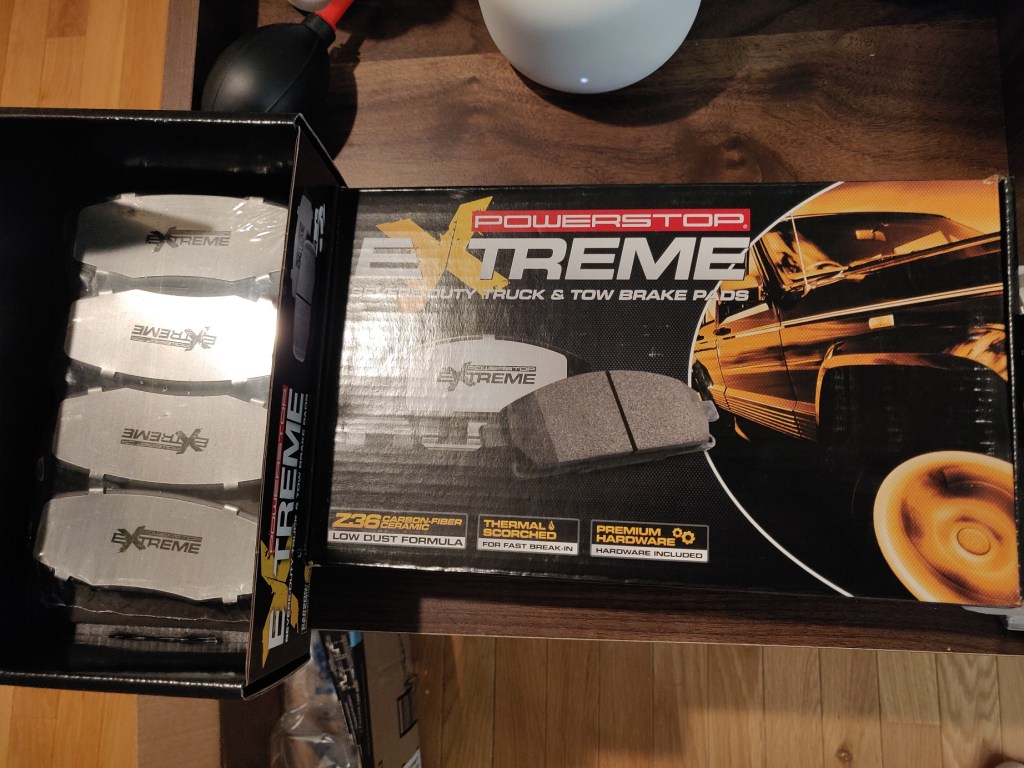
The pads I chose – Powerstop Z36 “Extreme” pads for towing. Hoping these are up to the duty of towing while also being livable for “daily” driving. They are supposedly low dust, low sound. Hoping they have good initial bite. 
A lot of brake pads these days are install and go. Most high performance pads still need some kind of bedding-in procedure, so it is interesting that these pads include instructions on how to do so. Hopefully they live up to the performance!
Trying this slideshow method for the how-to to see how it goes. If it’s unreadable, I may go back to the step-by-step and picture by picture in page, but overall this was much easier than inserting picture, then words, and repeating.
The Z36 pads seem really heavy duty. Akin to most high-performance pads, they require a bedding in procedure that is specifically laid out in the box. Hoping they live up to their name, and have good initial cold bite and low dust. Perfect pad for the Sequoia if they do. The rotors I chose were plain Centric blanks. Since they are vented, I did not feel the need to go with anything like a slotted rotor, though that may have been cool. The calipers will definitely need to be replaced sometime in the future, as rust has taken a pretty good hold of them.


Pingback: 2020 Wrap-up & Future Plans (Sequoia) | QL Motorsport & Car Journal