I went to top off the oil in my Evo when I had a bit of an incident happen. The bottle of oil I use has an insert in the cap that is supposed to stay in the cap – unbeknownst to me, instead of staying in the cap, it sat on the top of the bottle. I had just begun to tip the oil bottle toward the oil fill when it fluttered into the engine – I didn’t even get any oil in.
The valve cover on my Evo hasn’t been taken off in 7 years, so I figured I might as well here. There’s a few how-to’s online but they all seemed to skip a step or two, or the difference in the modifications made it a little more confusing. Do all work at your own risk, and always disconnect the battery if you are working on something that involves the electrical system.
The job requires:
- New valve cover gasket (MD372906)
- New spark plug gaskets (4x, MD373583)
- 10mm, 12mm sockets
- Torque wrench that can do in-lbs
- Permatex ultra grey (https://www.amazon.com/gp/product/B000HBGI8K/)
- Plastic picks (https://www.amazon.com/gp/product/B078752WMD/)
- Pliers, rubber mallet
Step 1: Remove the plastic cover on the engine. Mine are held on my hex bolts
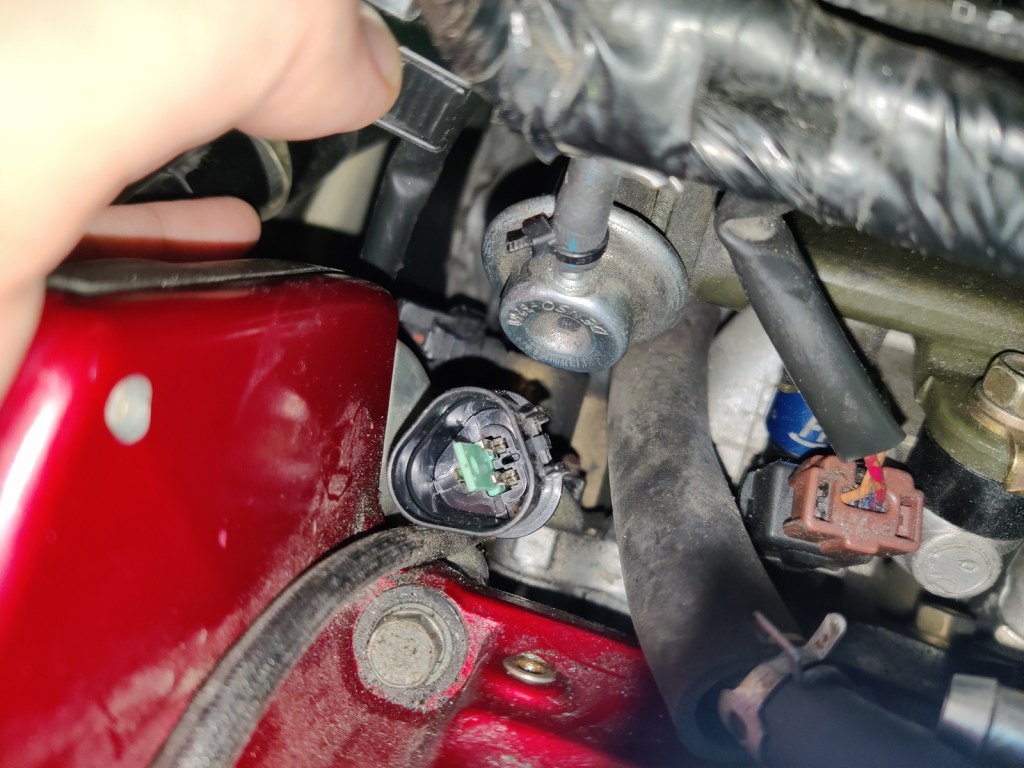
Step 2: Remove the spark plug coil packs. Mine is a Spoolinup held together on a carbon-fiber plate and 2 bolts, but I believe the stock system consists of 2 coil packs with 2 connected to them – it’s important to remember the order of those plugs, if that is not obvious. Unplug from the connectors on the left and the right, and remove the coil pack.
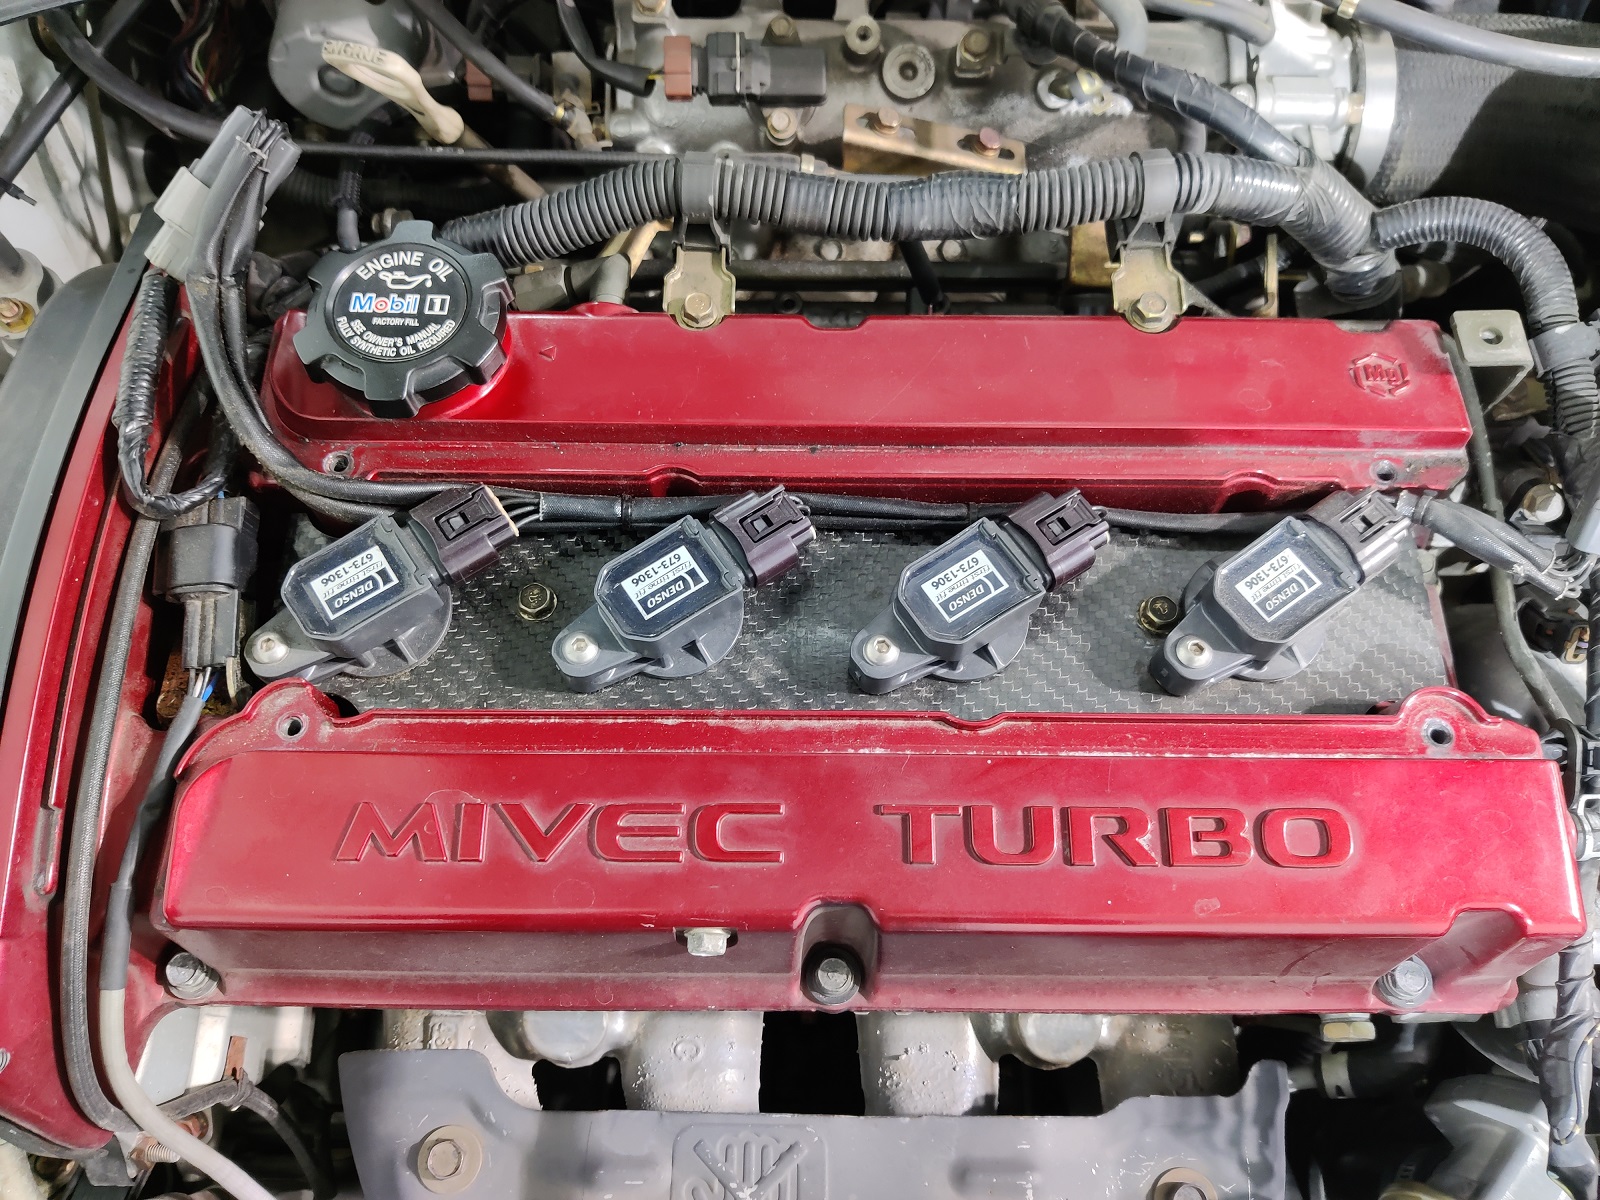
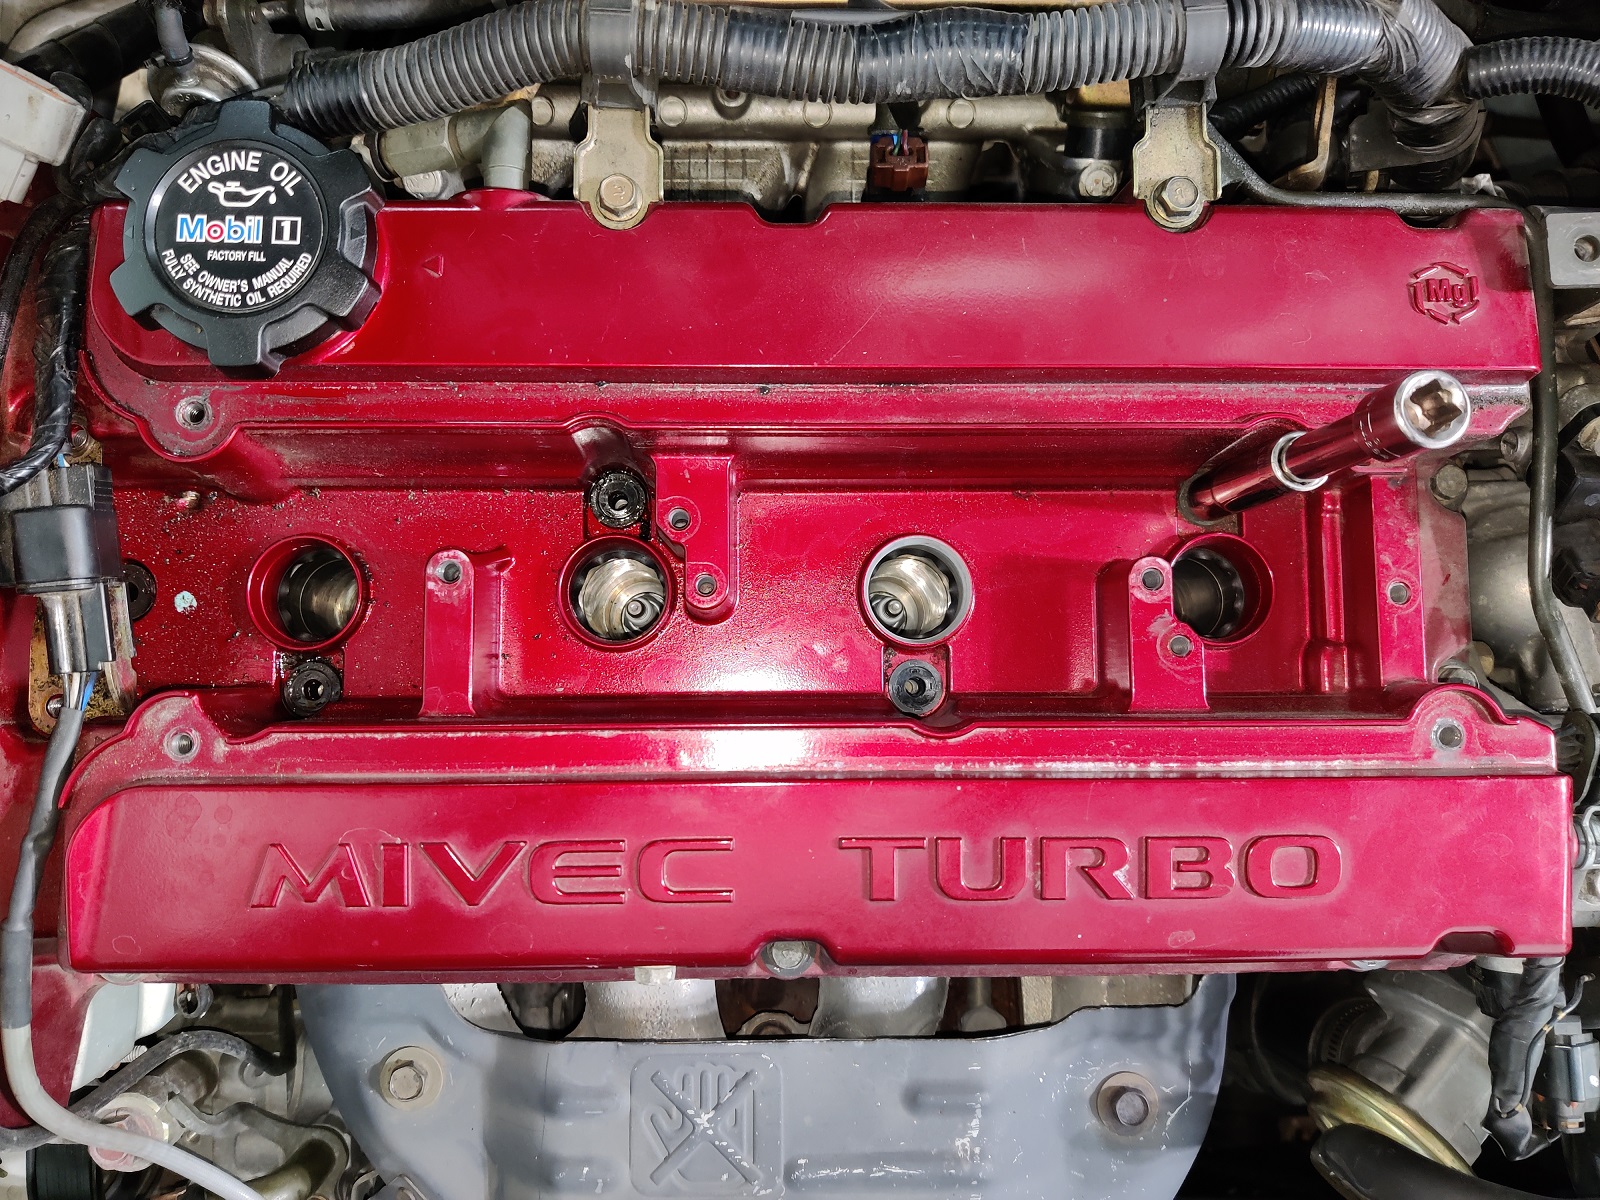
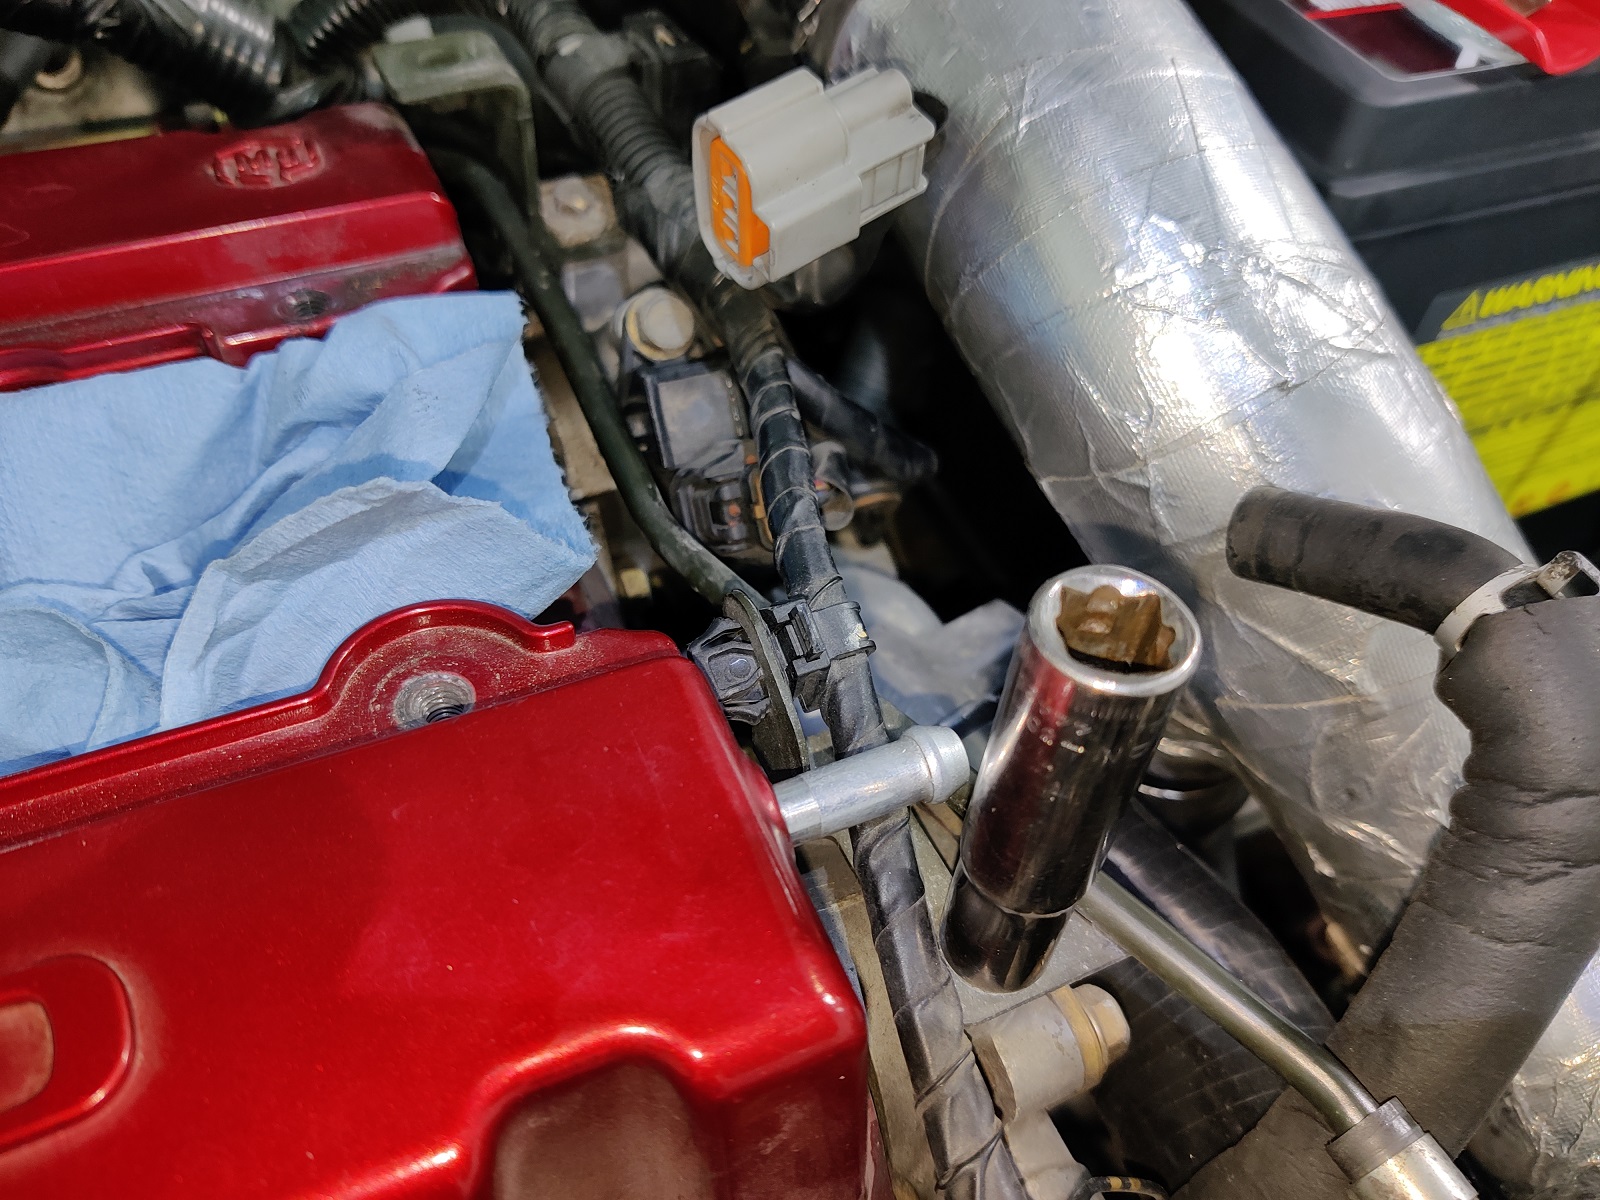
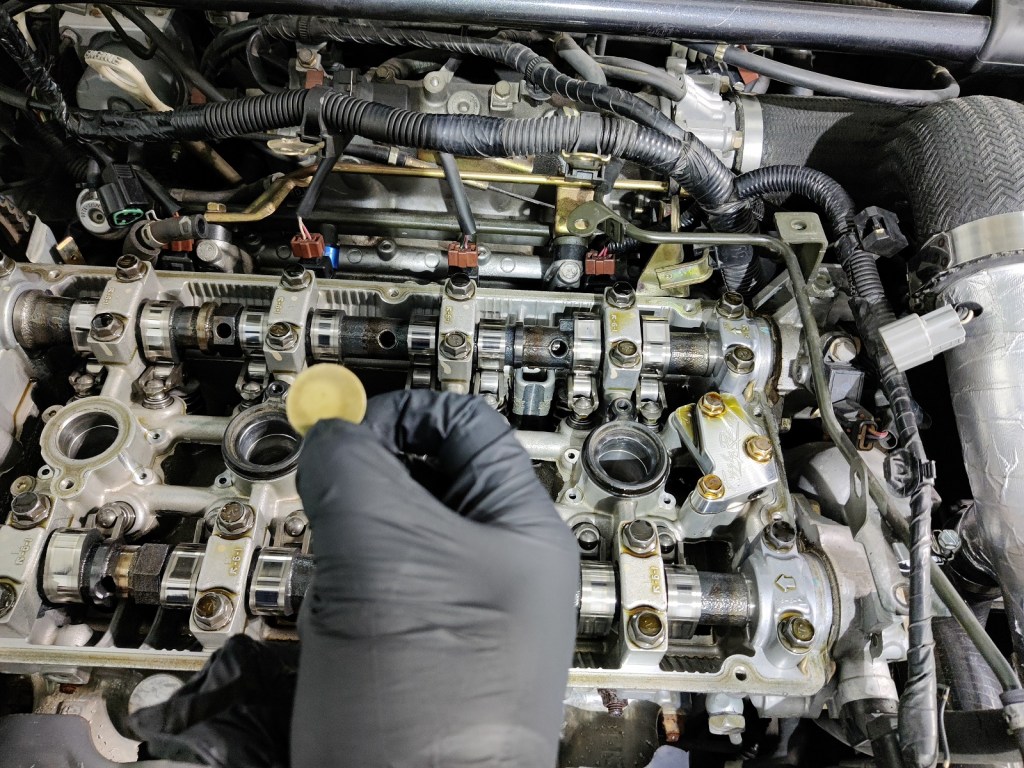
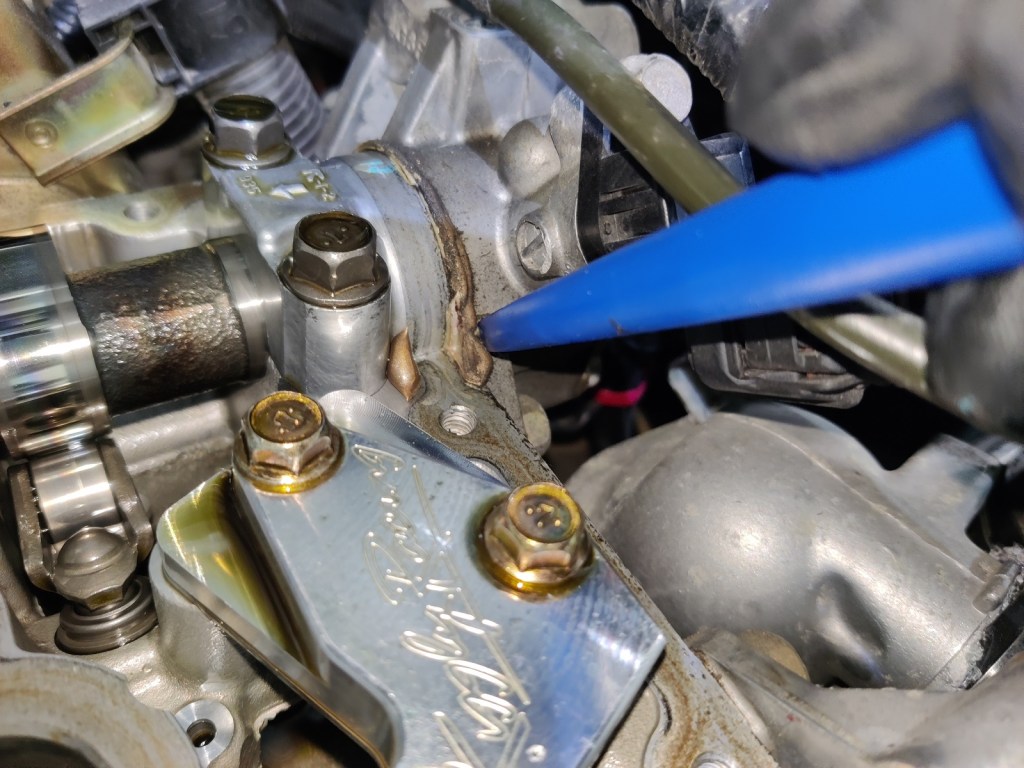
Step 3: With the spark plug sockets exposed, we can start removing the bolts around the valve cover. Fortunately, they are all 10mm and held on fairly easily. There are 6 outer ones – 3 in front, and 3 behind, and 7 inside the middle area. You may have electrical connectors on the left, as I do – mine is a plate held on by 2 10mm bolts as well, which must be removed to reveal the left-most middle 10mm. There are also 2 10mm bolts that hold on the electrical bracket in the rear, and 2 that hold a hard line on the driver’s side that make accessing the driver’s rear outer bolt impossible without removing first. I removed the inner bolts first, but I don’t think the removal order matters.

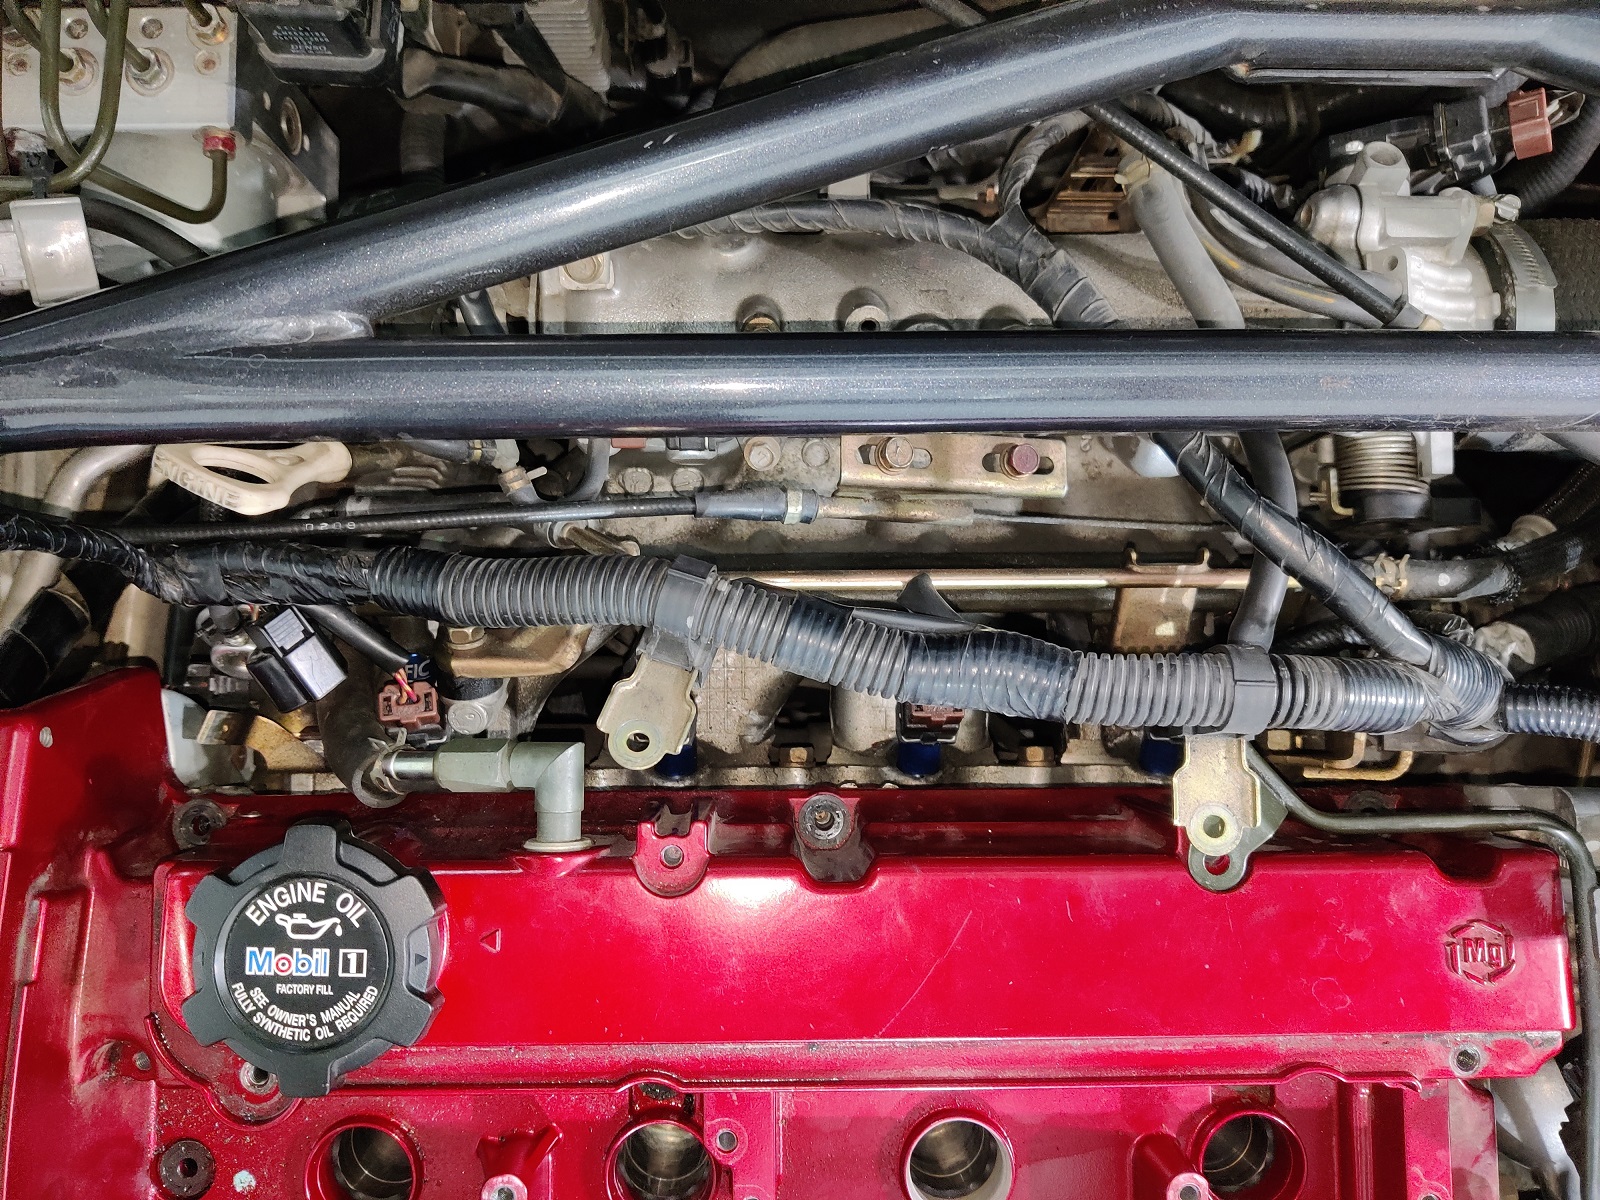
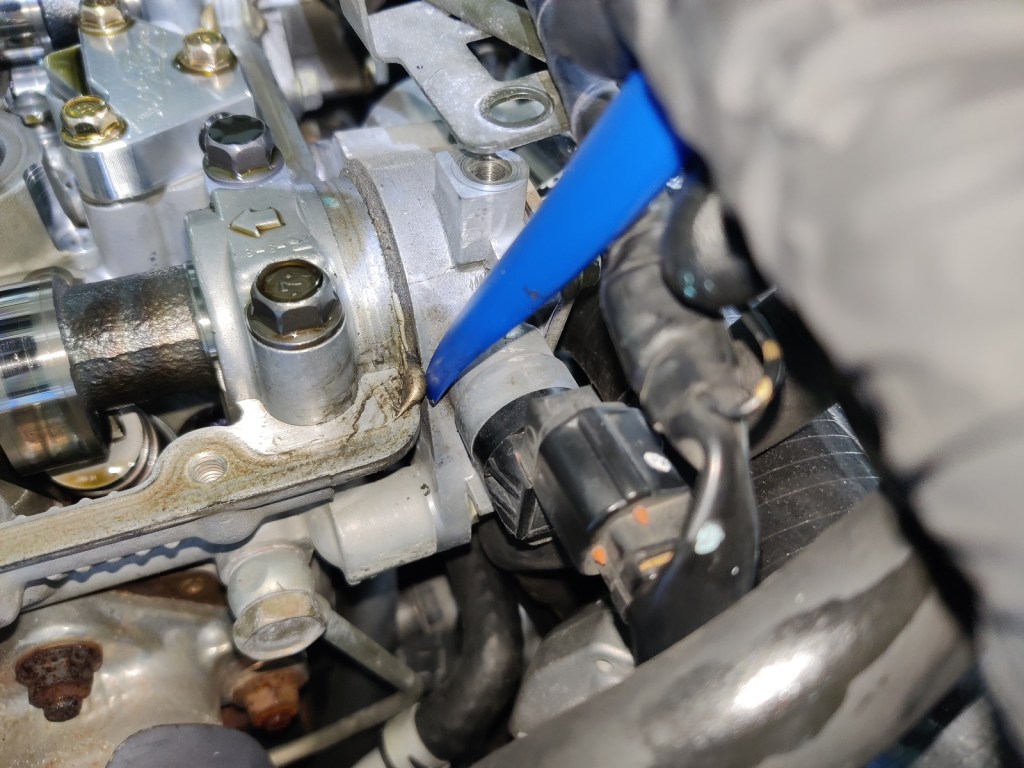
Step 4: Remove the hoses on the driver’s side and the rear. These are held on with metal clamps that you can use pliers to remove. One the clamp is moved past the bulge, the hose can be worked out by twisting.

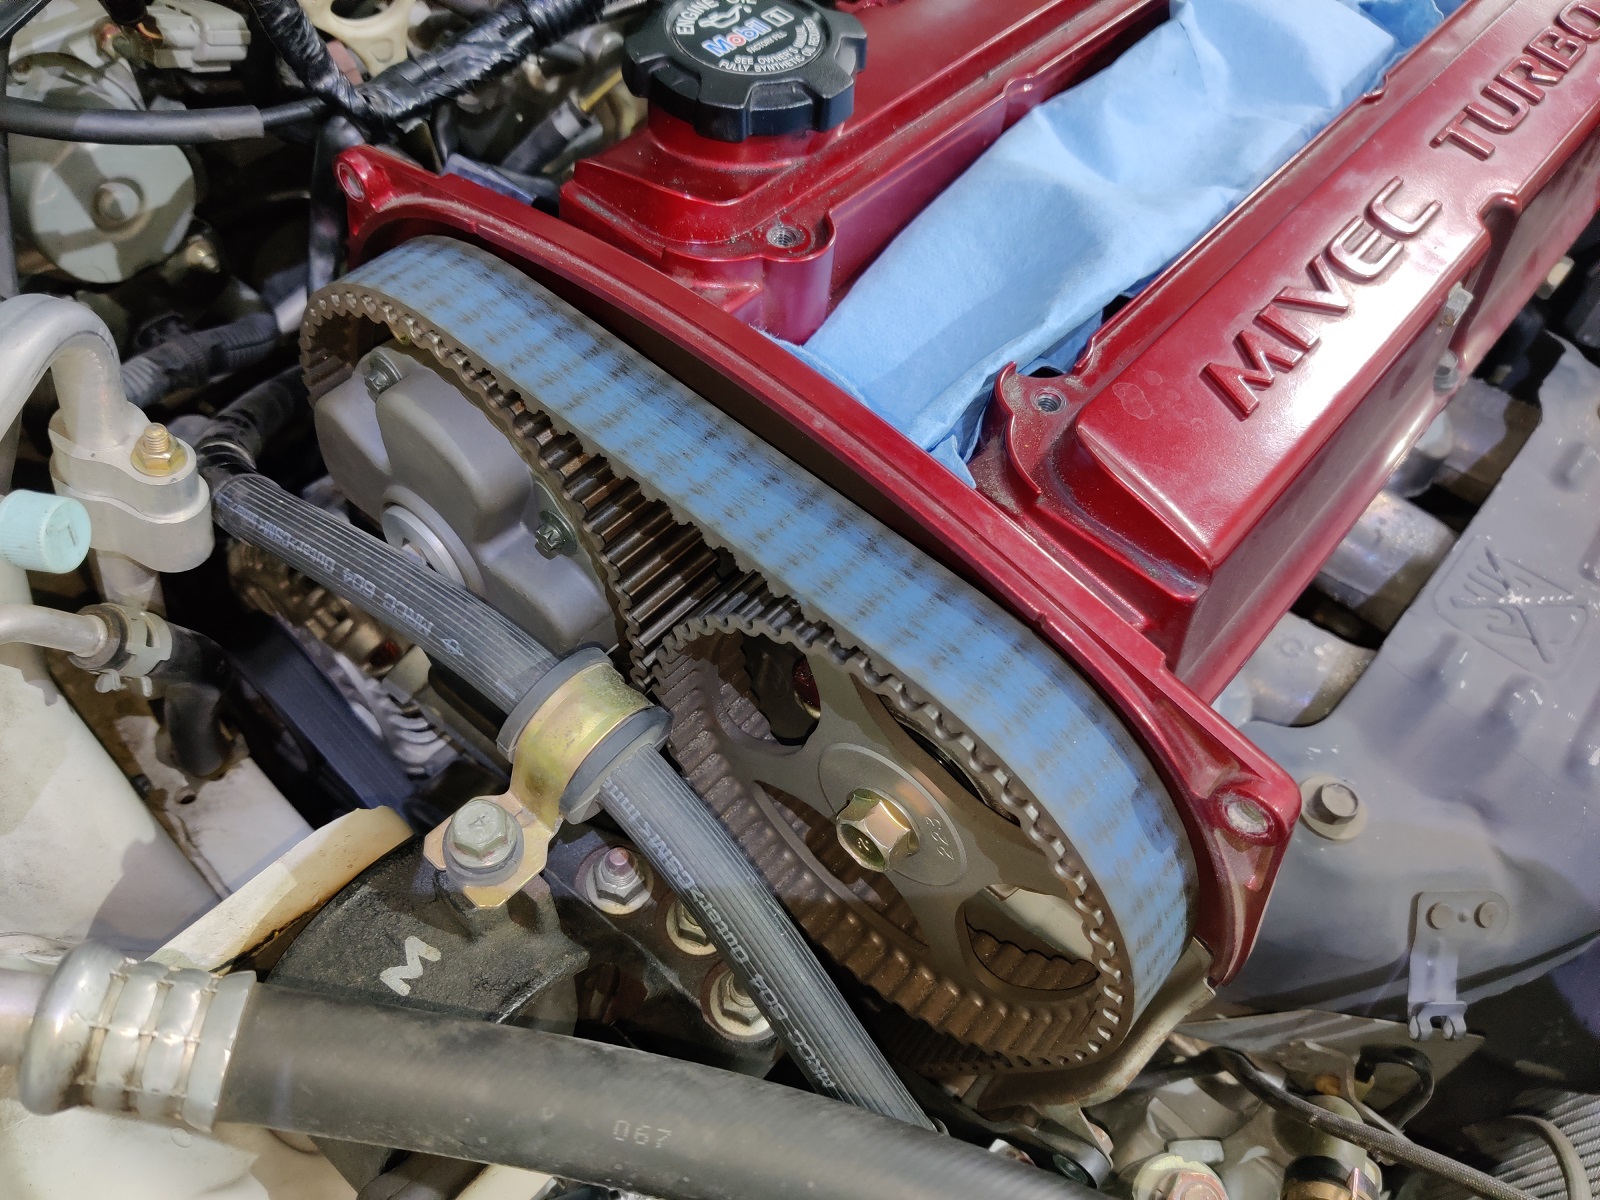
Step 5: Remove the cam-timing cover. This is held on by 4 10mm bolts – 2 at the top and 2 at the bottom. There is a line to the left of the cover that must be loosened first to have enough space to work it out. This is held on by a 12mm bolt. Once the bolts are off, gently work the cover out of the way.
Step 6: Double check everything, and make sure everything that was holding the valve cover has been taken off. Once you confirm, remove the valve cover gently. Mine took some force to get off, given how long it had been off. I stuck in the handle of a hammer and gently pulled up and toward the driver’s side, and it came off.
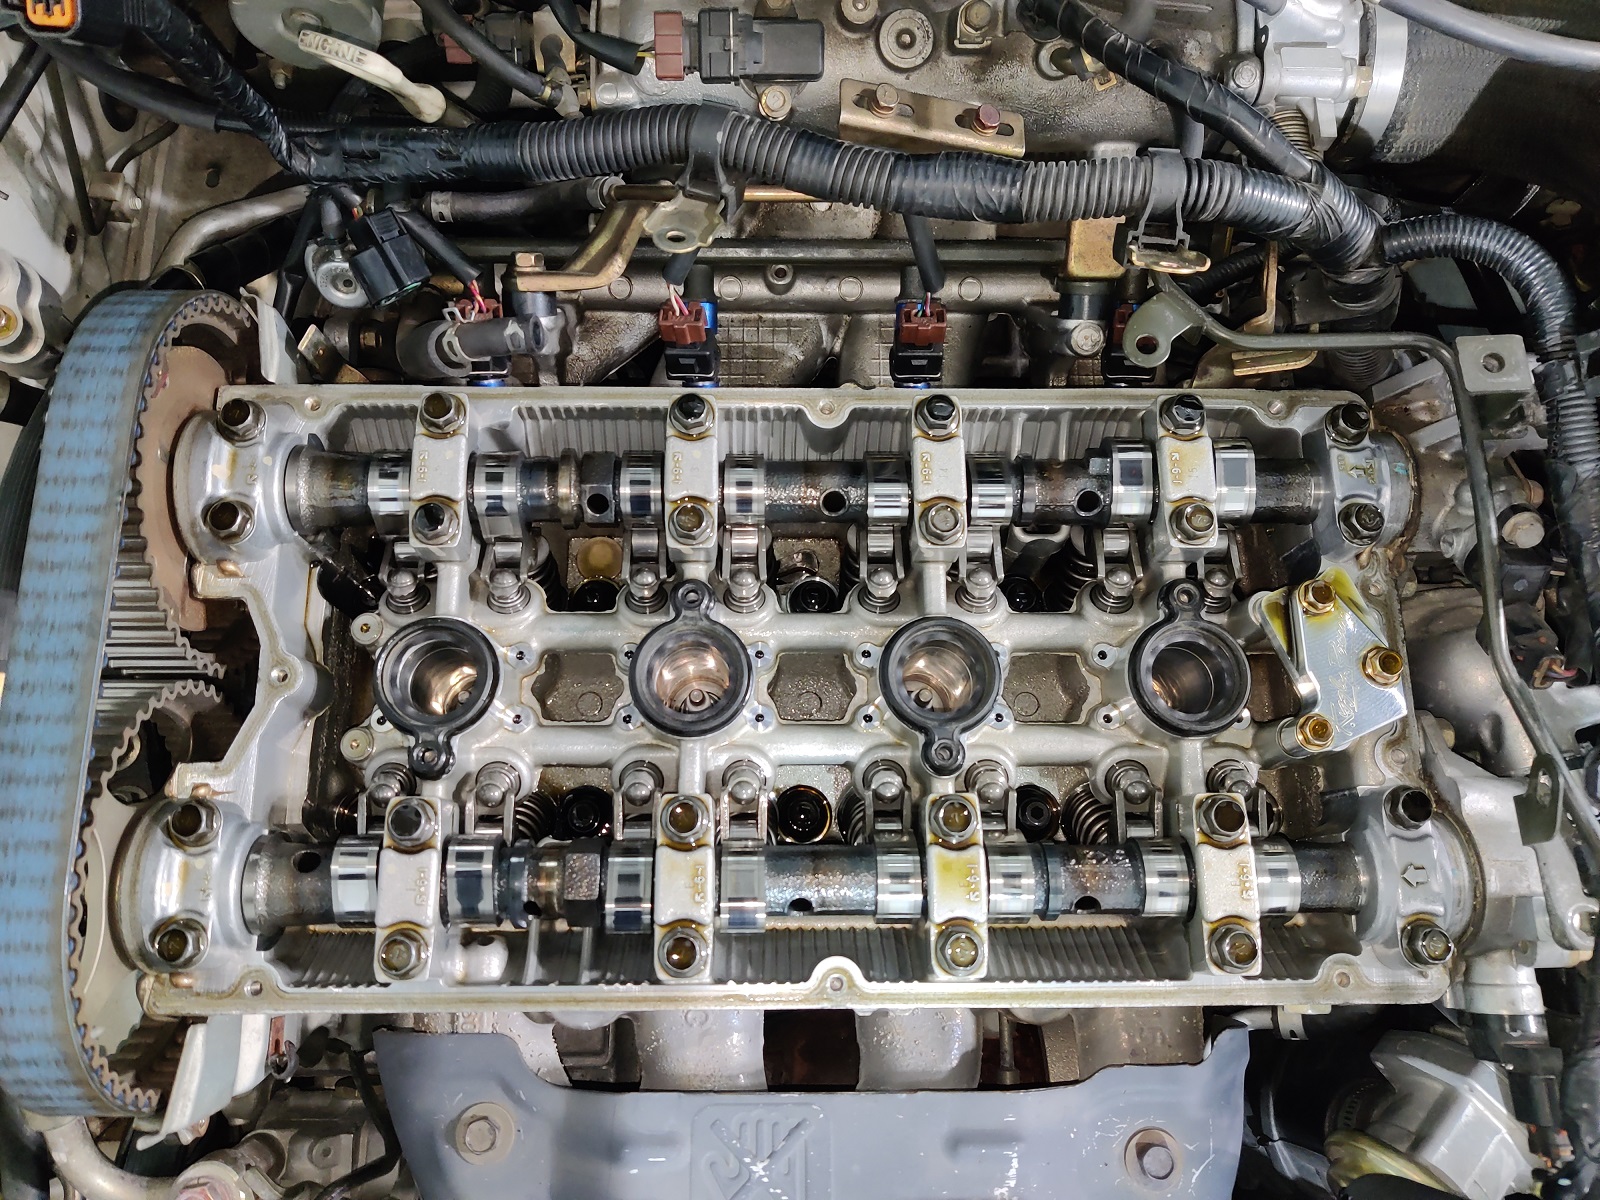
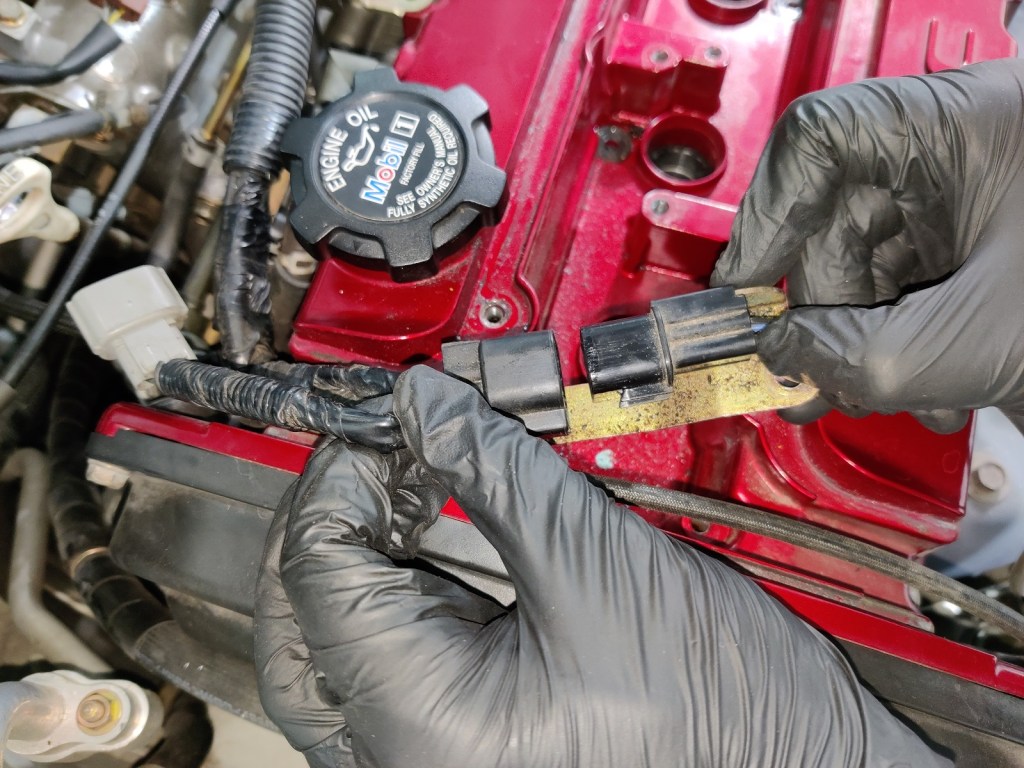
Step 7: Unplug the rest of the electronics. This part is straight-forward, but there was one in the passenger’s side rear that I wasn’t sure how to remove – you just pull straight upward on it, and it will come off of the clip that held it on.


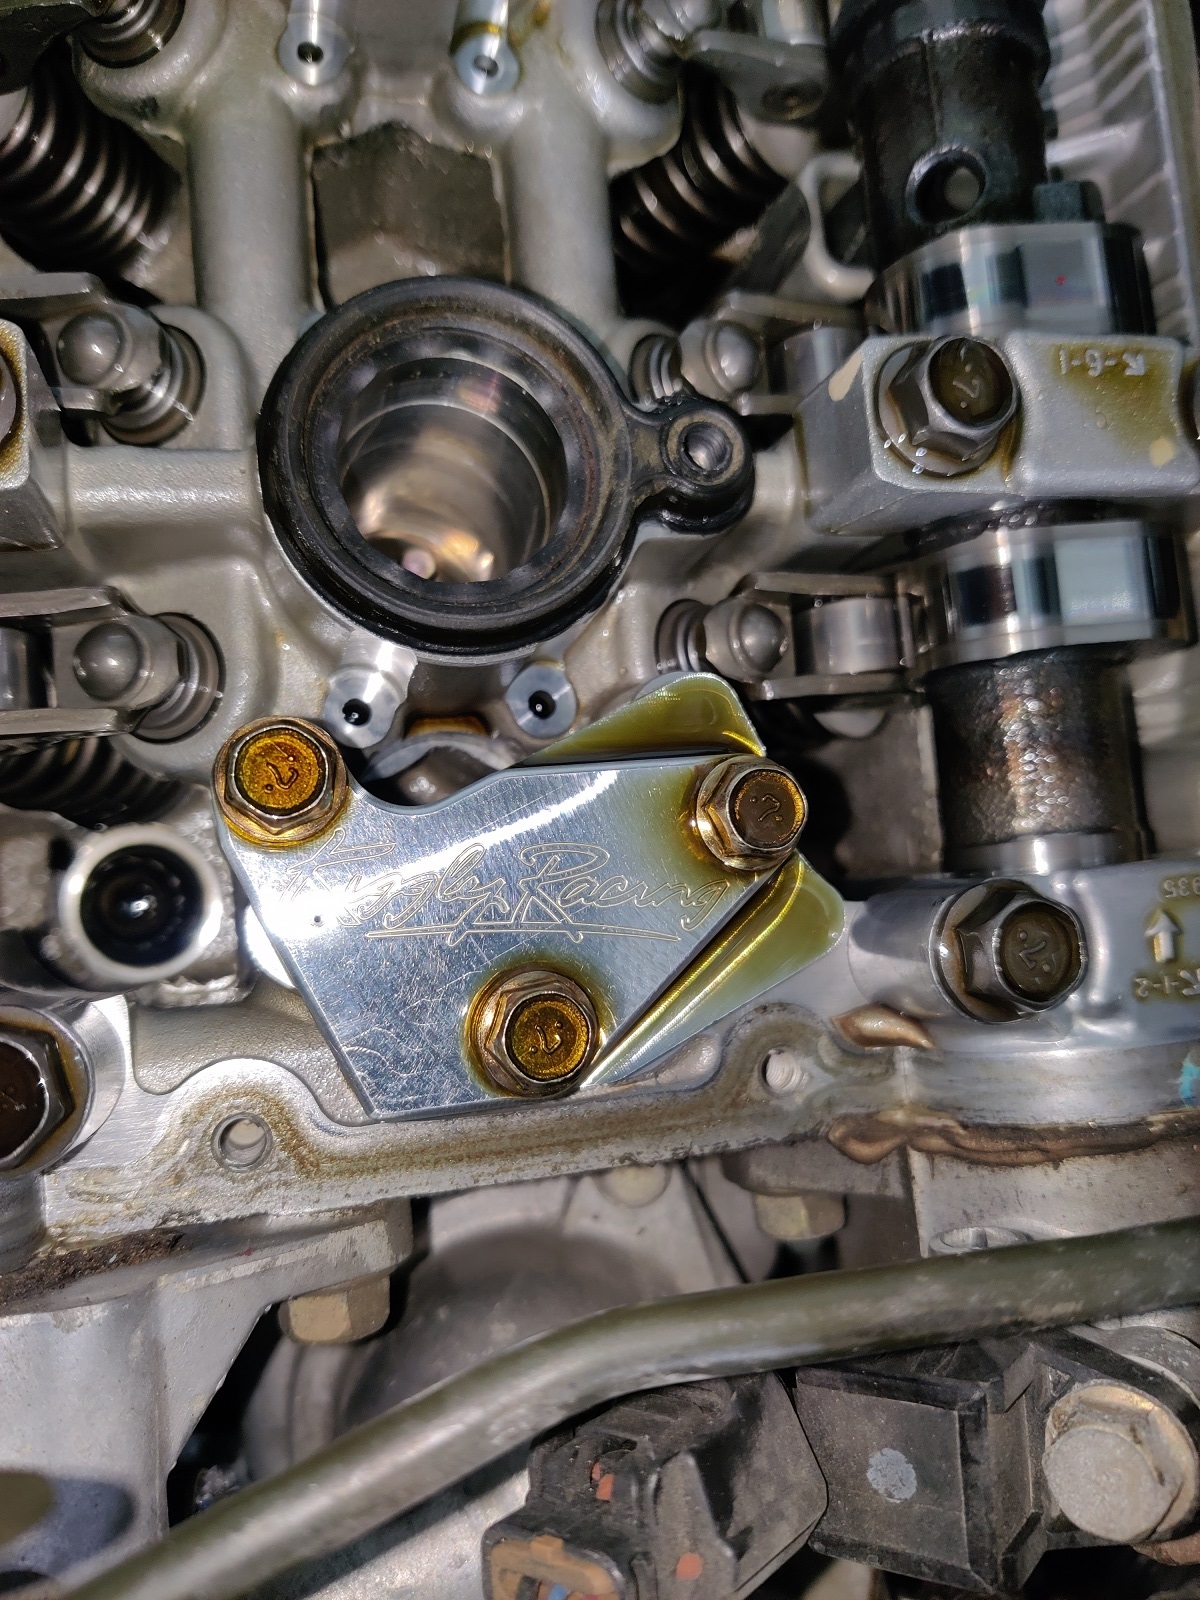
Step 8: If you’ve come this far and don’t have a Kiggly HLA, get one.
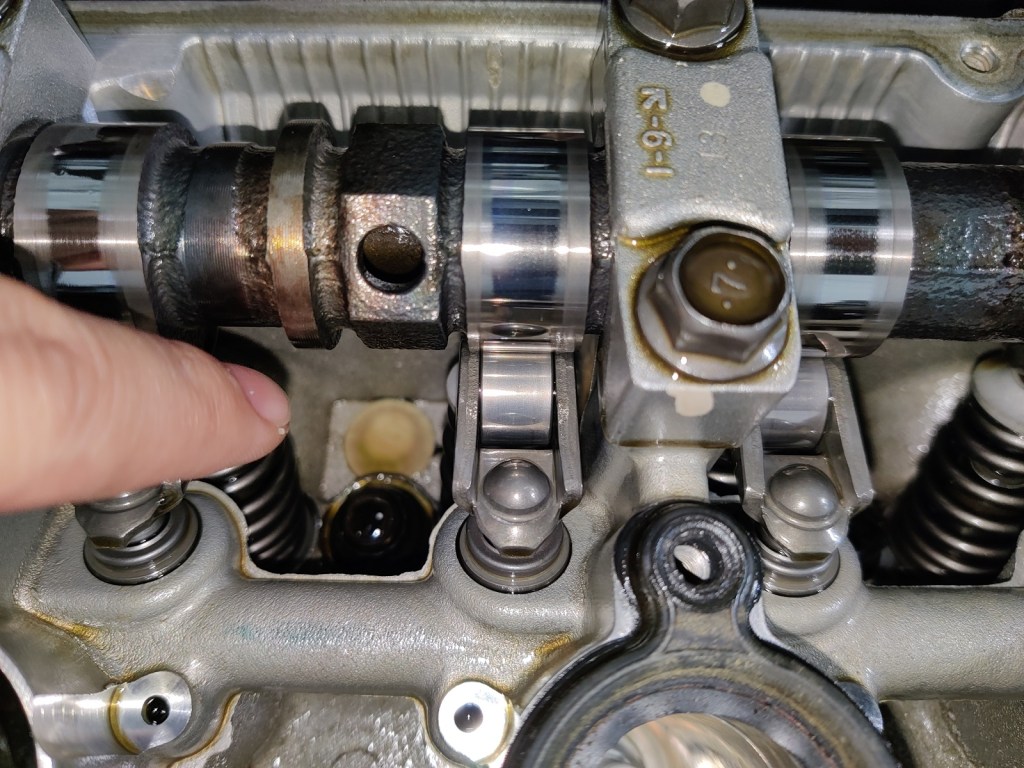
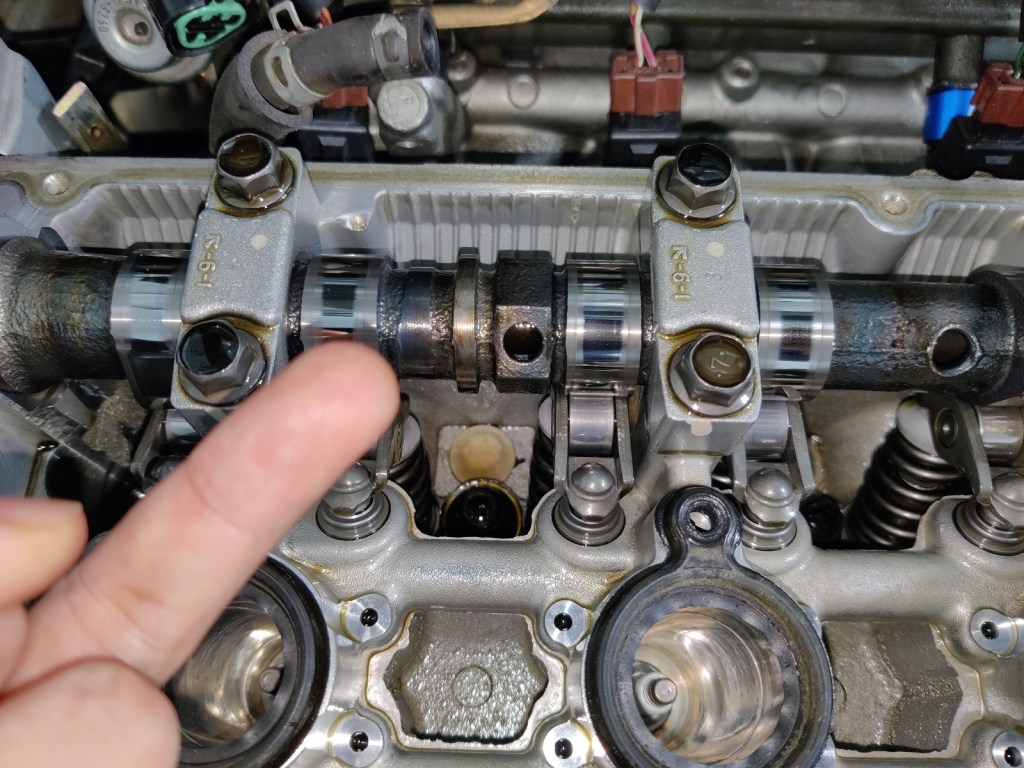
In my case, I was able to locate the piece of trash that had floated in my engine. It looked to have been covering some kind of drain back to the pan, which would have been bad.
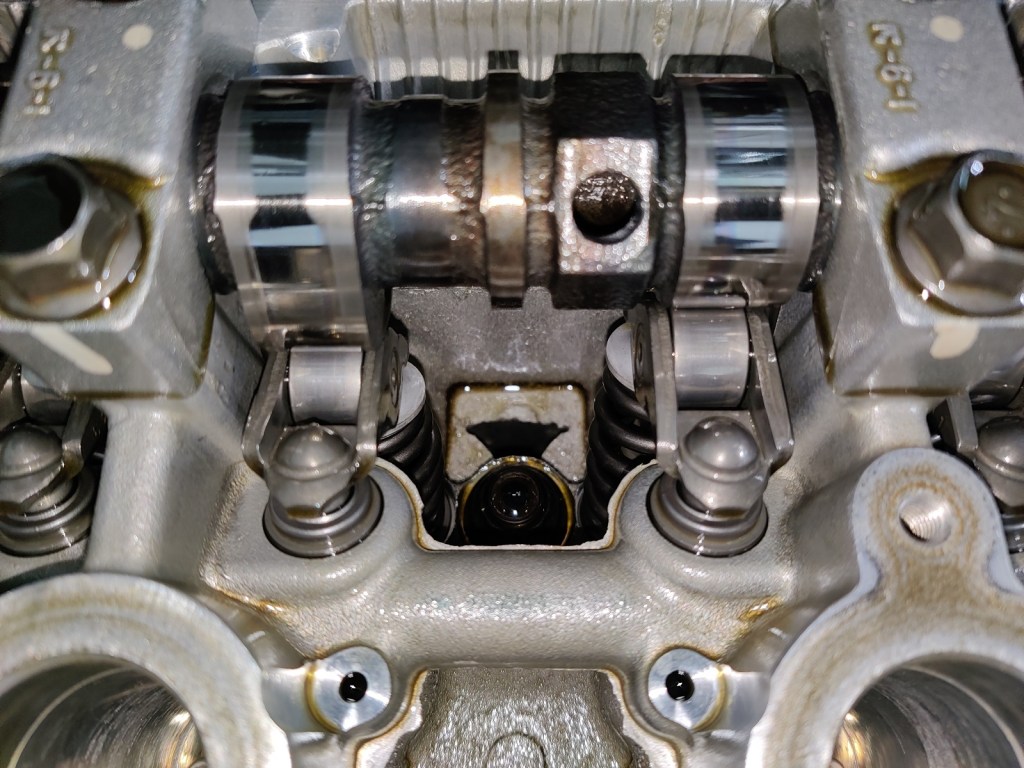
Step 9: Once you’ve done what you came to do, it’s time to prep the surface to put the head back on. Use a soft plastic pick and remove all the old gasket sealant very carefully to make sure it doesn’t fall into the head.
Step 10: Take a rag and some cleaner and clean off the rest of the head.
The rest of the process is just a reverse from taking the valve cover off. Remove the old gaskets for the spark plugs and the valve cover and place the new ones on the valve cover. You use some gasket sealant and add to the areas shown below.

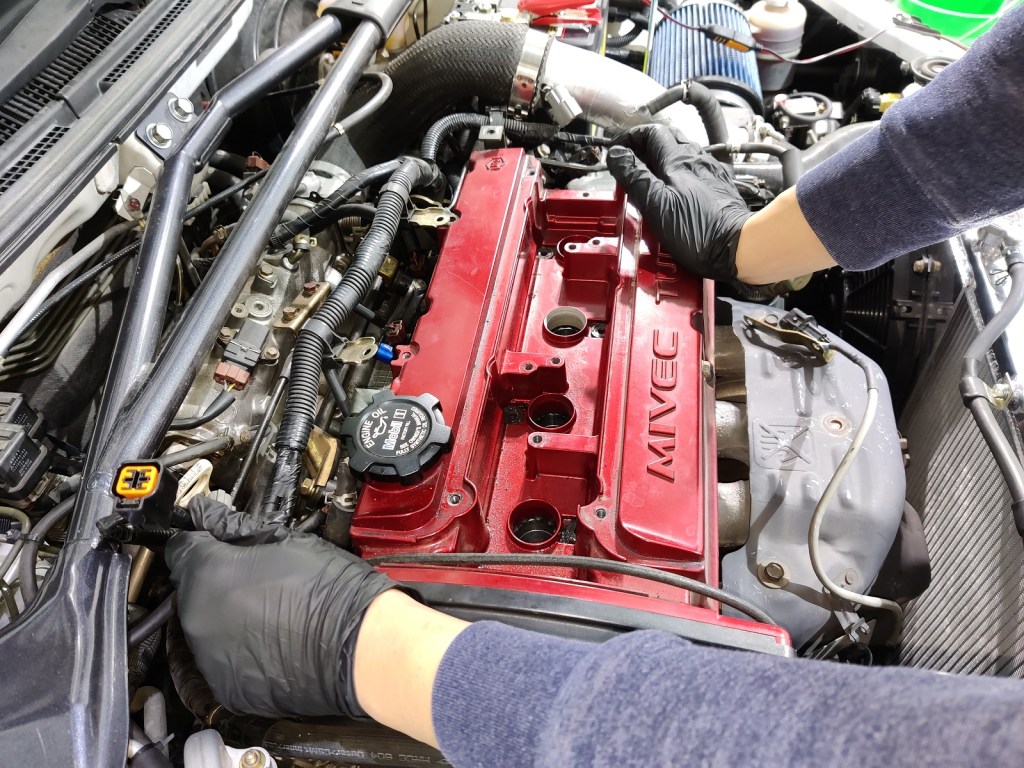
Once this is complete, you can replace the valve cover back on the head, carefully. Replace the bolts in a criss-cross pattern, finger-tight to begin with. Then, go back over 6 outer bolts and 7 inner bolts with a torque wrench set to 31 INCH-pounds. This is a very small amount of torque – going too tight will very easily crack the valve cover on this car. You may need to go over the bolts a few times until it settles, as there may be some upward force from the gasket. Replace the cam gear cover and the rest of the bolts and hoses, and that is it. Let the sealant cure for 24 hours before taking the car for a spin.


Thanks, good to read!!!