
One of the weaknesses of having an older car, particularly one that has been in production for so long, is that some of the technology ends up very dated. The halogen headlights were replaced for the 2018+ Sequoias/Tundras with a factory LED option. That said, not only is the option of upgrading expensive, the shape changed, meaning a few other changes would need to be made. Because of this, I decided to go with an aftermarket option.
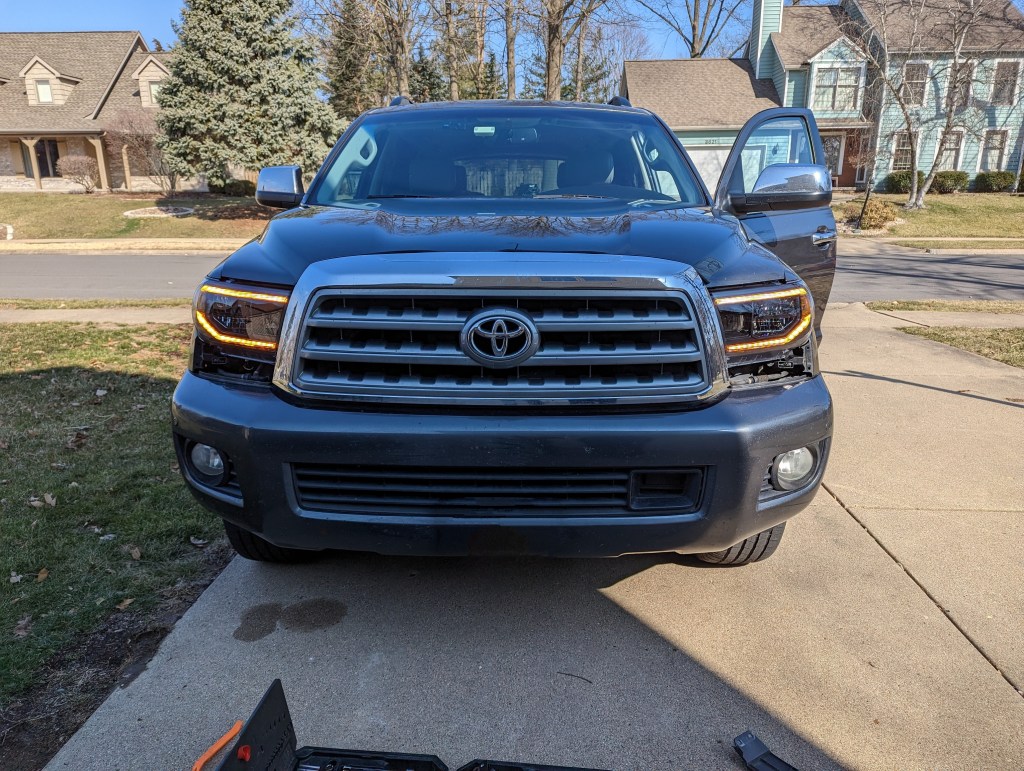
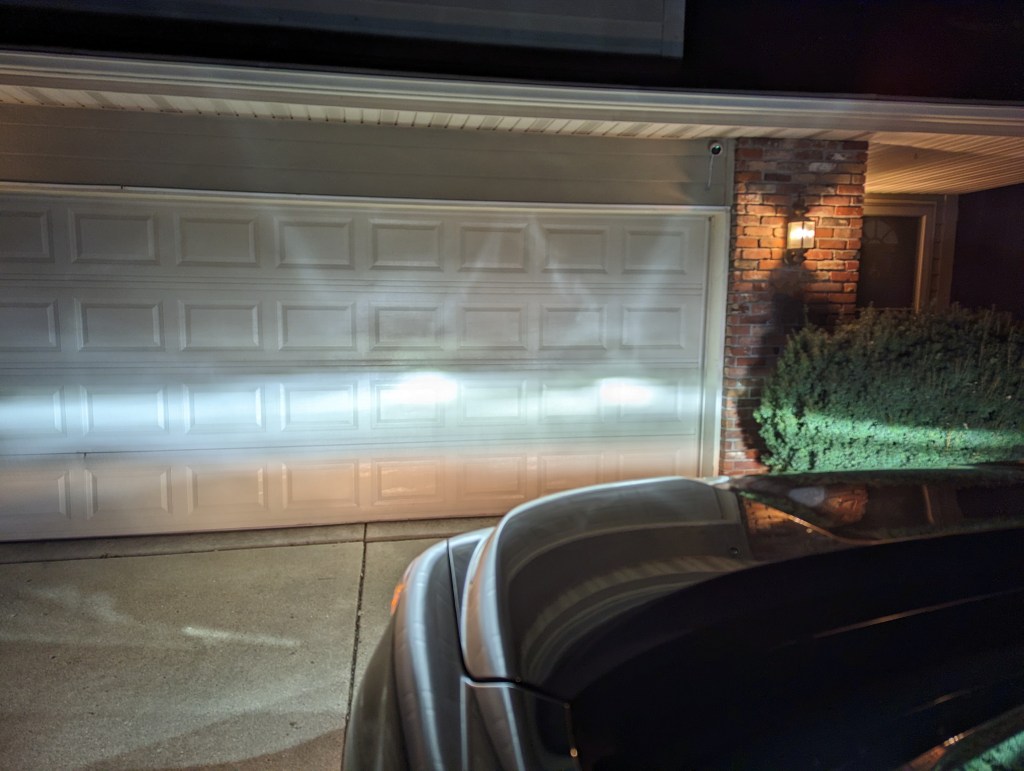
Aftermarket options range from very, very cheap to upscale and expensive. I plan on keeping this car for the foreseeable future due to its utility and low cost of operation (aside from the cost of gas). Newer cars are still that much more expensive, with no decent successor (the new Sequoia is awful for a number of reasons I won’t get into). Not only would a good aftermarket solution look better, the light output would make the long hauls in the Sequoia that much safer as well. With that in mind, I decided to go with the Morimoto version of the Sequoia/Tundra LED headlights. The only other upscale option were the Alpharex version, but those looked a little too aftermarket for me, with the Morimoto version going for a simple white DRL & reflector LEDs. The install was relatively straightforward. The step are below, with images corresponding.
Tools required:
- 10mm socket
- Screwdriver
- Panel Popper
- Fuse remover (or pliers)
- Pop the hood
- Starting on the driver’s side, remove the 2 clips holding the panel under the headlight
- The other side of that panel is held in with retention clips, and can take a little force to pry out – straight forward
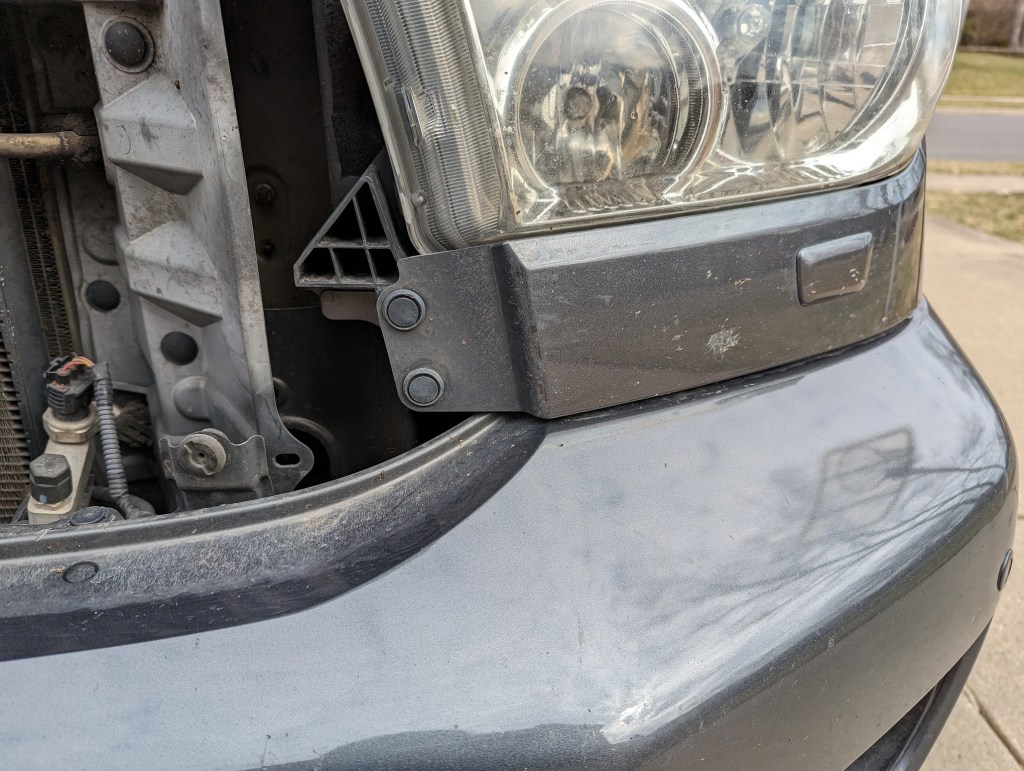
- This is the part almost no one else covers. if your car comes with factory headlight washers, you will need to disconnect the washer from its panel. It’s held on by clips that can be pushed in to separate the panel, which will then retreat to its housing
- The headlight itself is held on by two 10mm screws at the top, and one10mm bolt on the outer side that is exposed when the panel underneath it has been removed.
- The headlight will take some wiggling to remove, and once it is out of place, all of the bulb clips can be disconnected. I found it was easier to disconnect the turn signal bulbs by removing the bulb first, then pulling the clip out that way.
- Once the clips are disconnected, there are 3 screws holding the headlight washer assembly to the headlight itself. In my case, the Morimoto headlights had the proper shape to reinstall this assembly to.
- Open the fusebox, and remove the last 10amp fuse on the end. Replace this with the new fusetap wire that comes with the kit. In my case, the replacement 10amp was preinstalled to the tap. Route the other wire to the passenger’s side. The fusebox cover will close fine over the wire.
- All the connections are straightforward to swap.
- The washer assembly is reinstalled in the same fashion.
- It takes some finagling to get the headlight reinstalled, and the fitment works reasonably well.
- The passenger’s side steps are identical
- Before putting everything back together, turn on the car and make sure everything works.
- Once that is confirmed, position the panel, pull out the washer assembly and reattach it to its panel.
- Put everything back together and enjoy!
2. Two clips shown holding the inner portion of the panel on 
4. Headlight washer connector 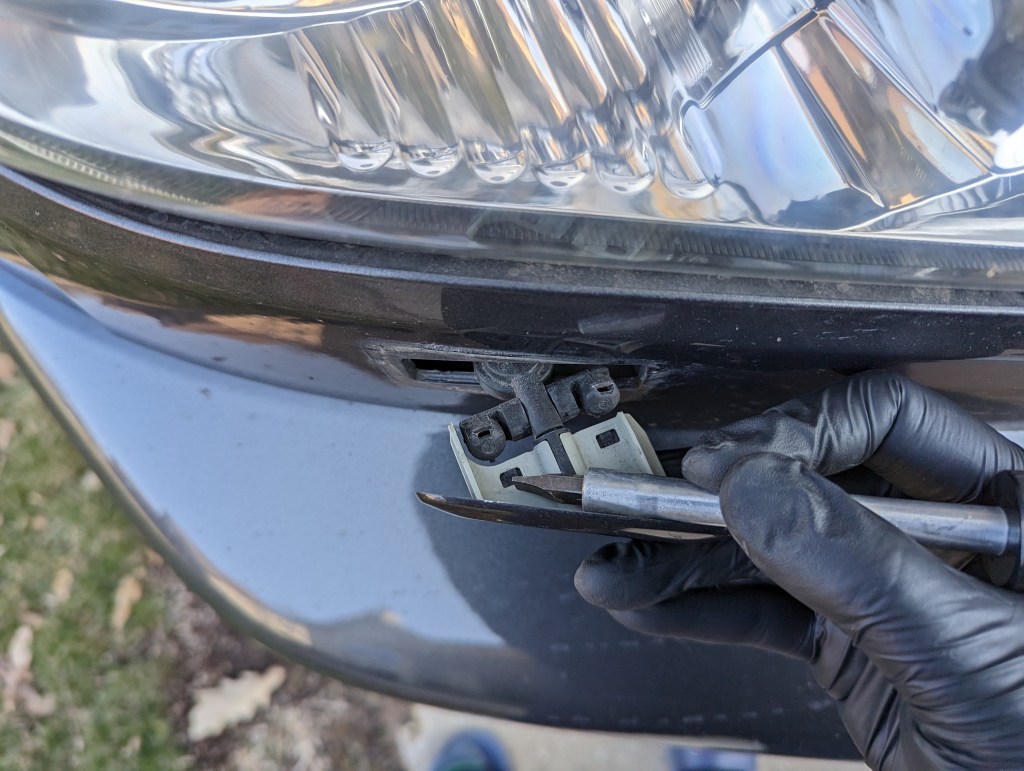
4. Passenger’s side shown 
4. After removal 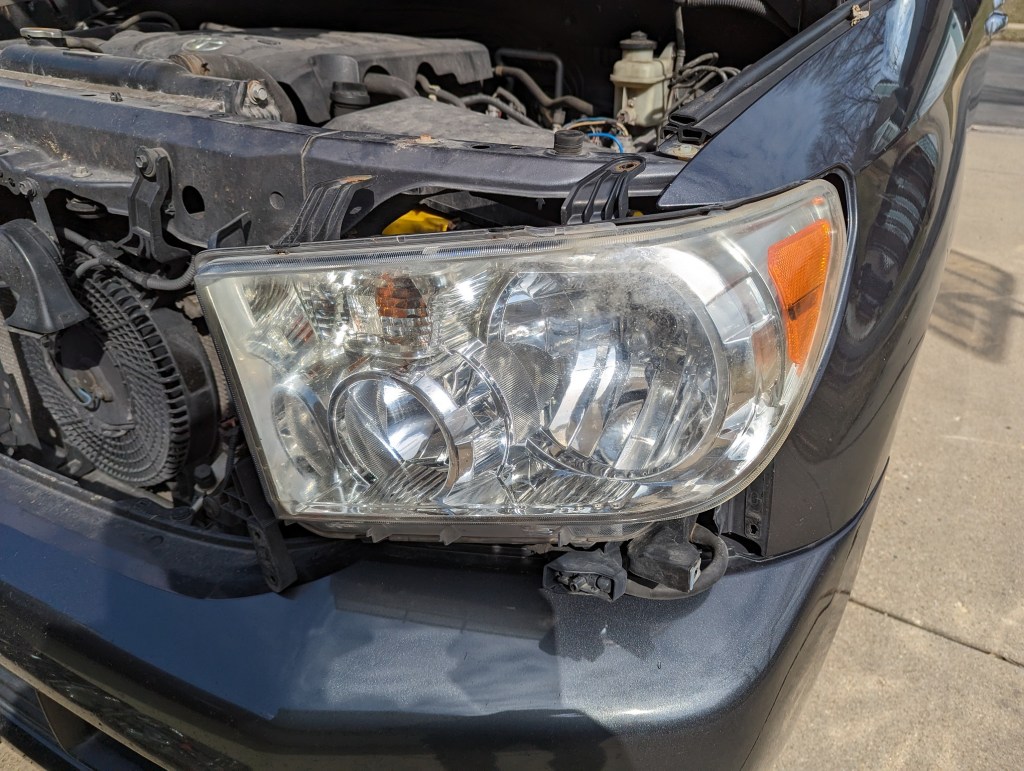
5. Two 10mm bolts on top, one 10mm on the side 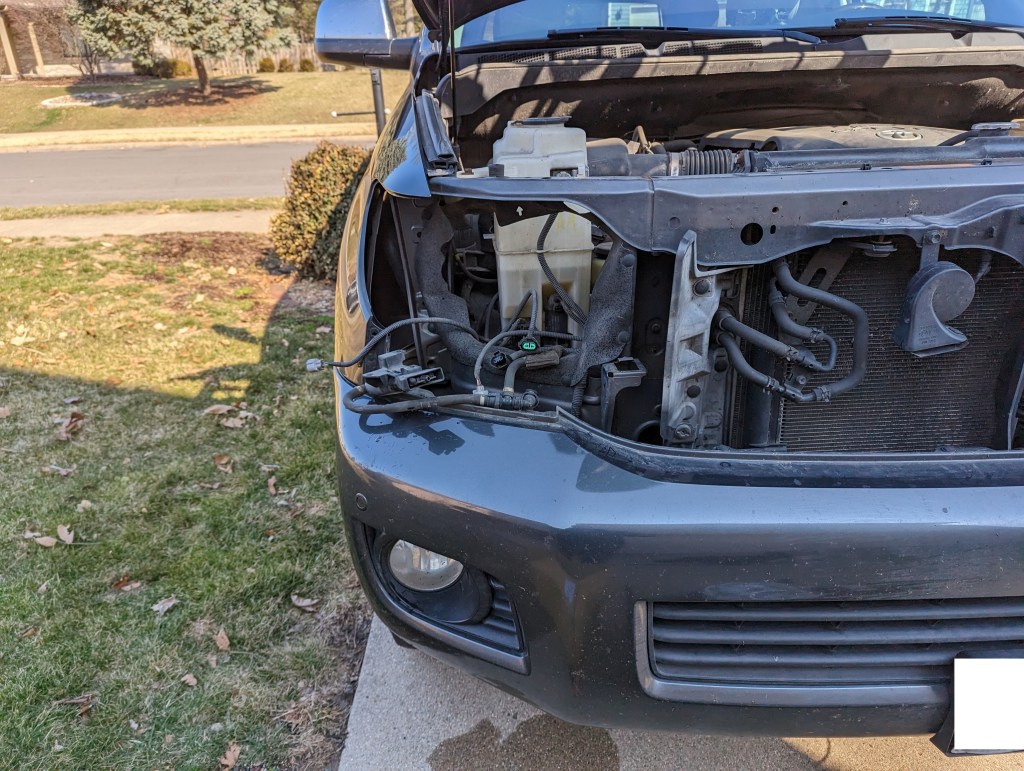
6. Passenger’s side shown. 
7. Factory headlight washer connection 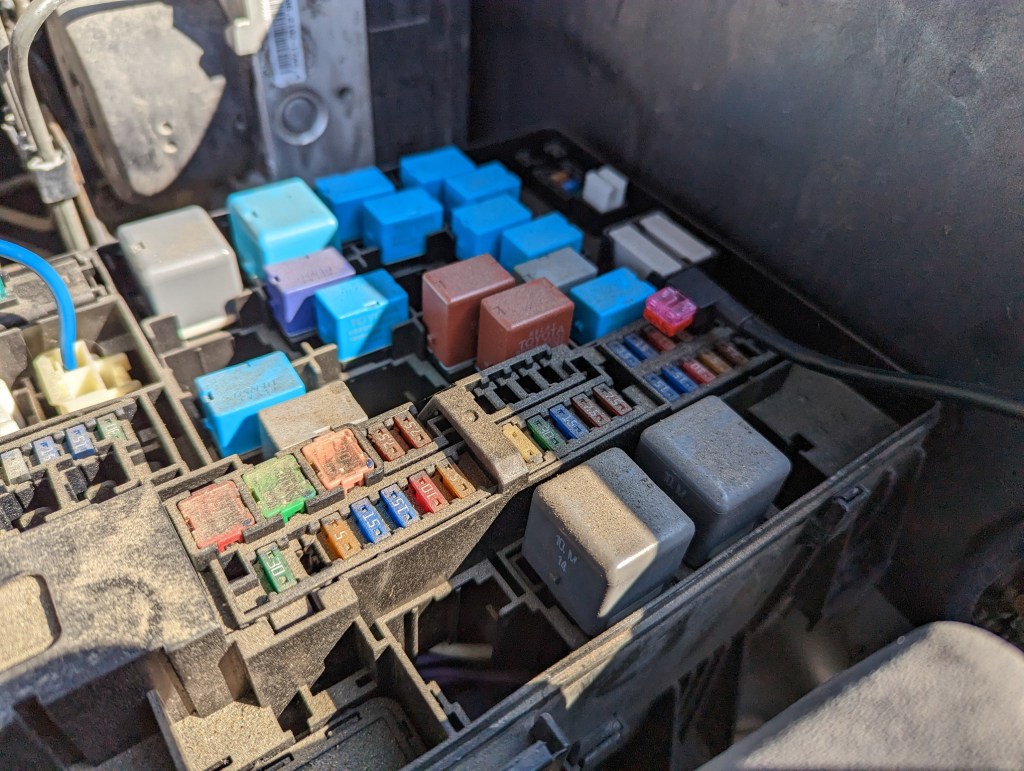
8. Fusebox tap 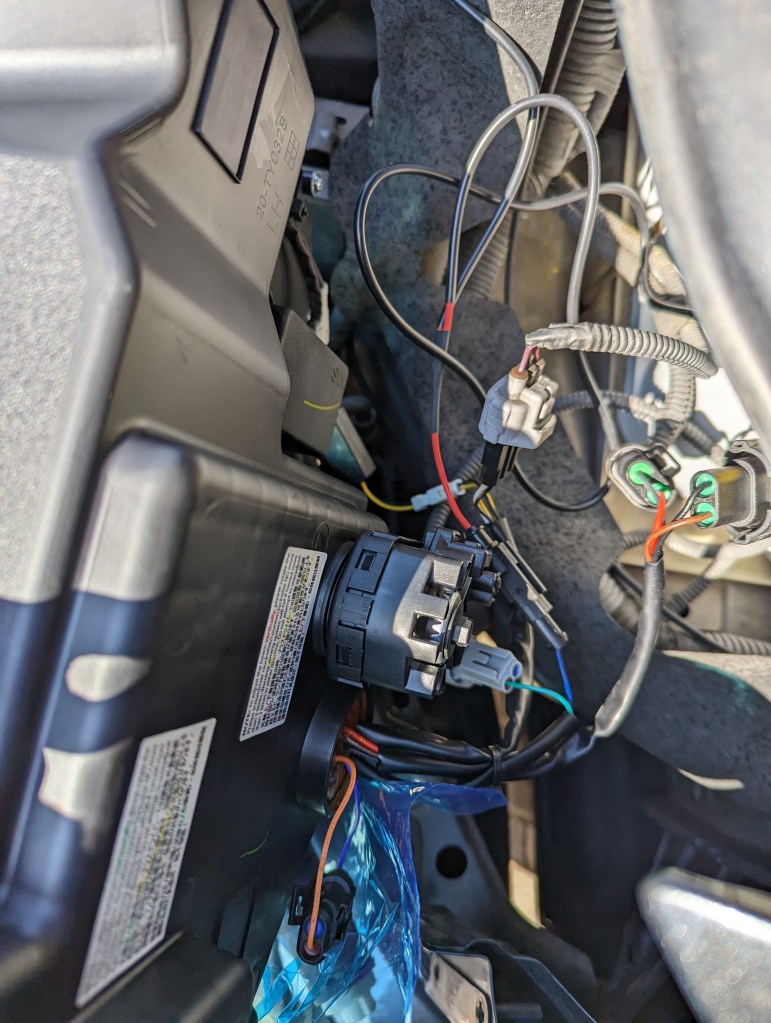
9. Connections 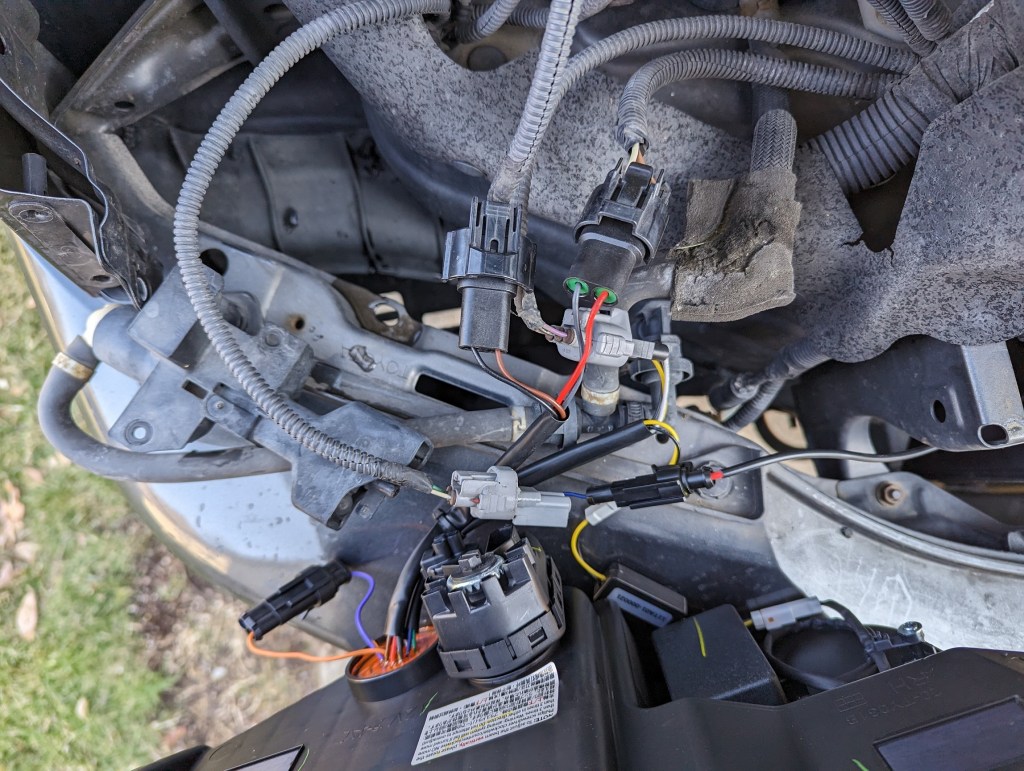
9. Passenger’s side shown 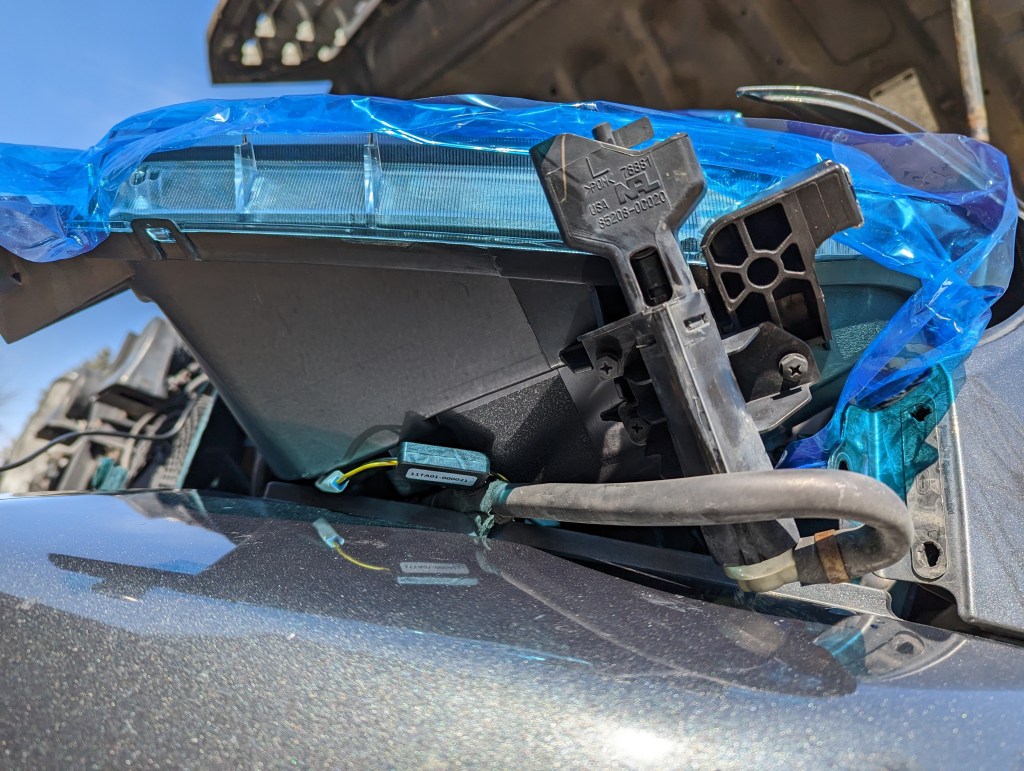
10. Headlight washer connected on driver’s side 
10. Headlight washer connected on the passenger’s side 
11. Fitment 
13. Testing power before reattaching the panels underneath the headlights
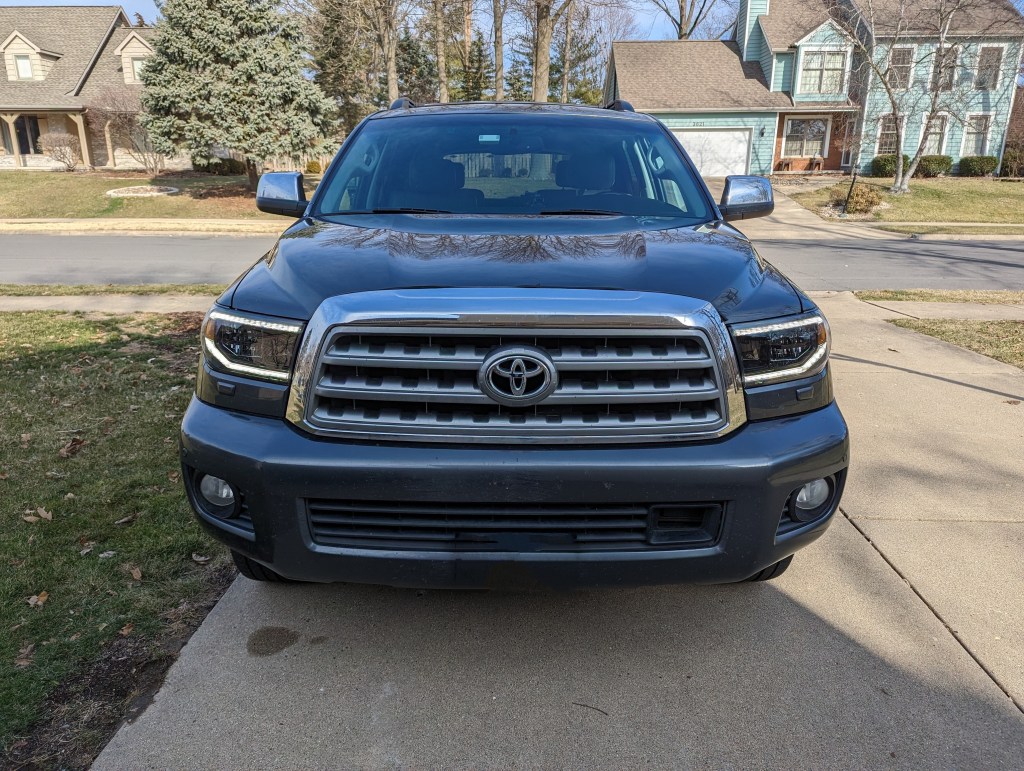
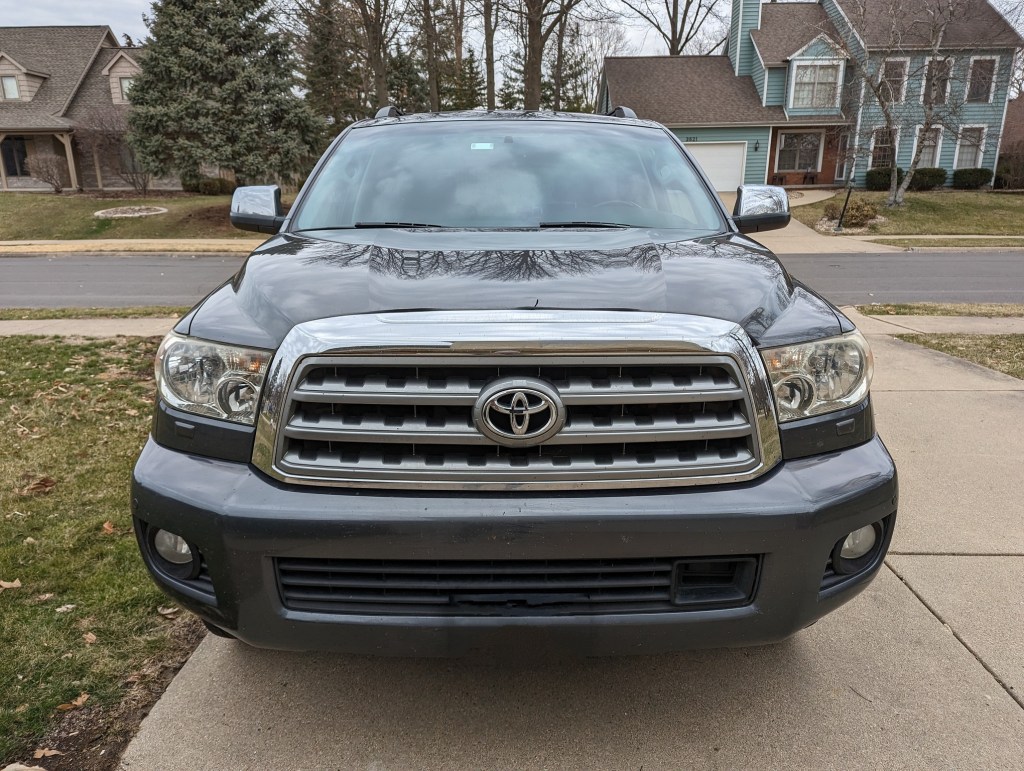
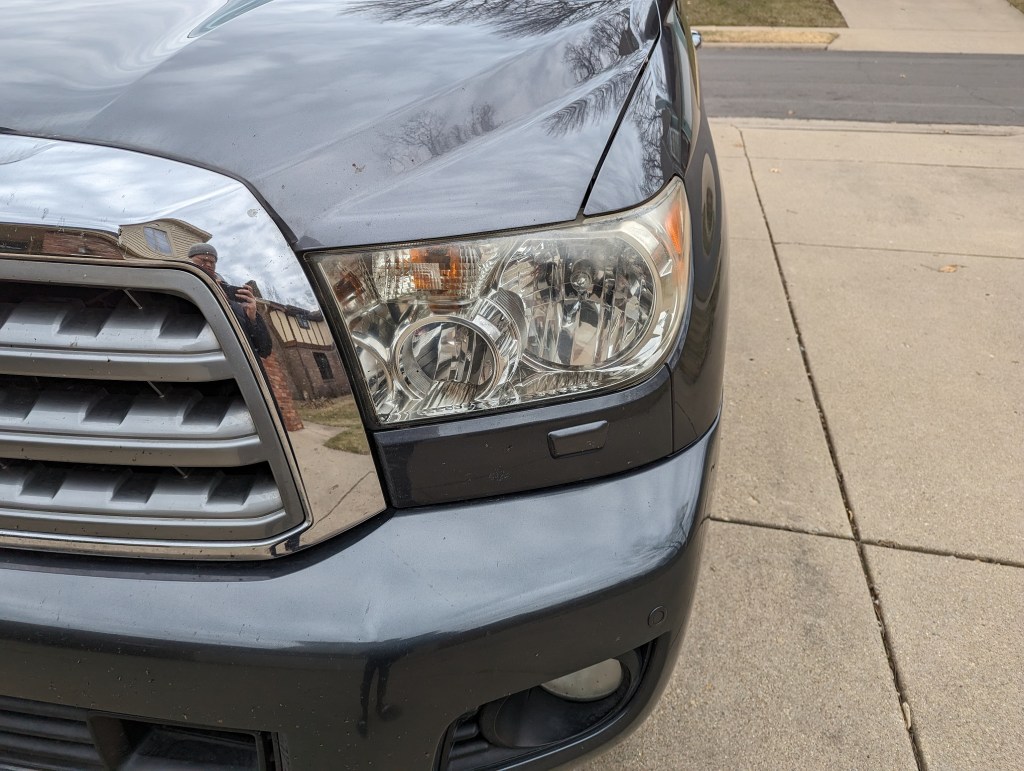
How it looked before:

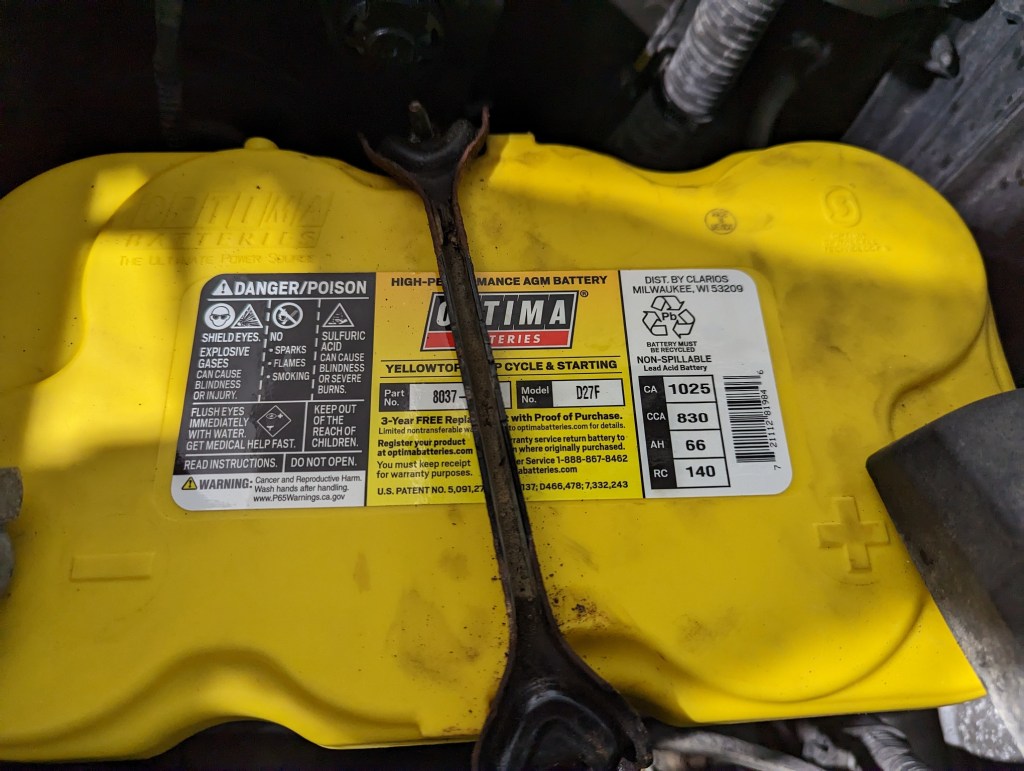
Finally, I installed an Optima YellowTop D27F battery. This is an enormous, 50lb+ battery with a CCA of 830 – more than enough to get this big V8 going. Additionally, the YellowTops are designed to withstand deeper drains on the battery, which is perfect, as this car is not driven very frequently. It’s also the same design battery I got in the evo, for much the same reason.


Pingback: Headlights pt. 2 – Alpharex Nova (Sequoia) | QL Motorsport & Car Journal
Pingback: A Few 2023 Updates (Evo, Sequoia) | QL Motorsport & Car Journal