How-to for the spark plugs and/or coil pack for the Veloster N. My car had 13,359 miles on it, and figured the spark plugs hadn’t been done yet – and I was right. This is a super simple job, you do have to remove a clip from the fuel pump to get the cable out of the way, but otherwise very straightforward.
Items/Tools Required:
- 10mm socket
- Pliers
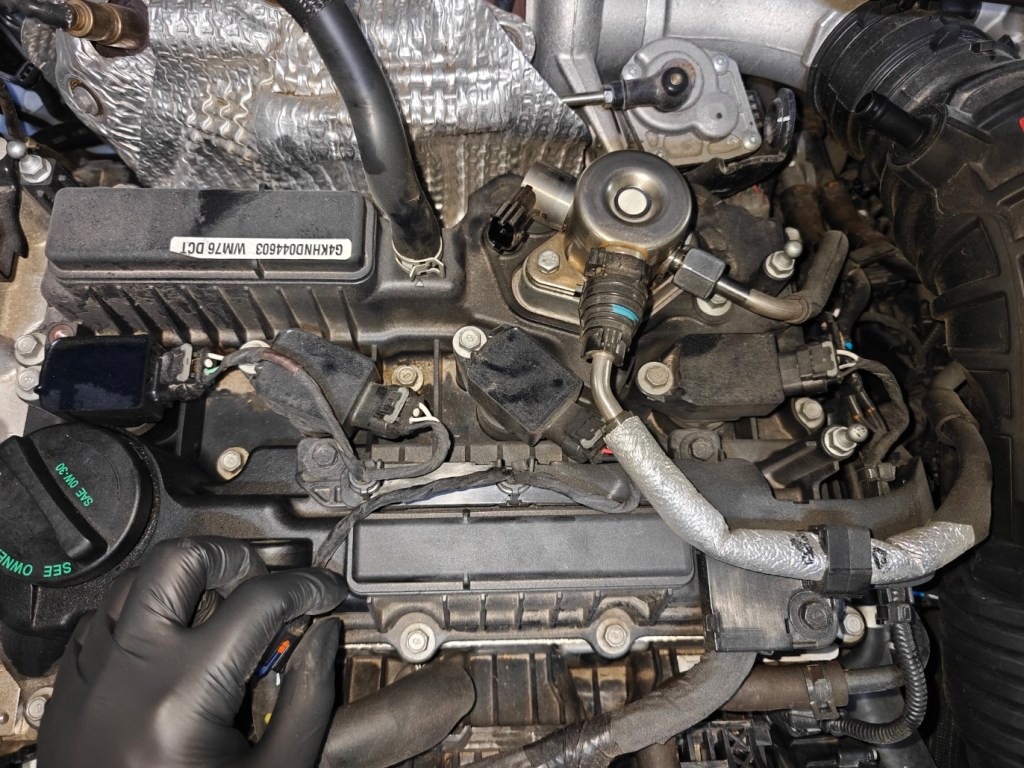
Pop the hood and remove the engine cover. Just held on by rubber gromets. Disconnect the battery. 
Remove the intake tube clamp using pliers, and get the hose out of the way. Remove the foam cover from the fuel pump. Disconnect the electrical plug on the left side of the fuel pump (see previous pic). 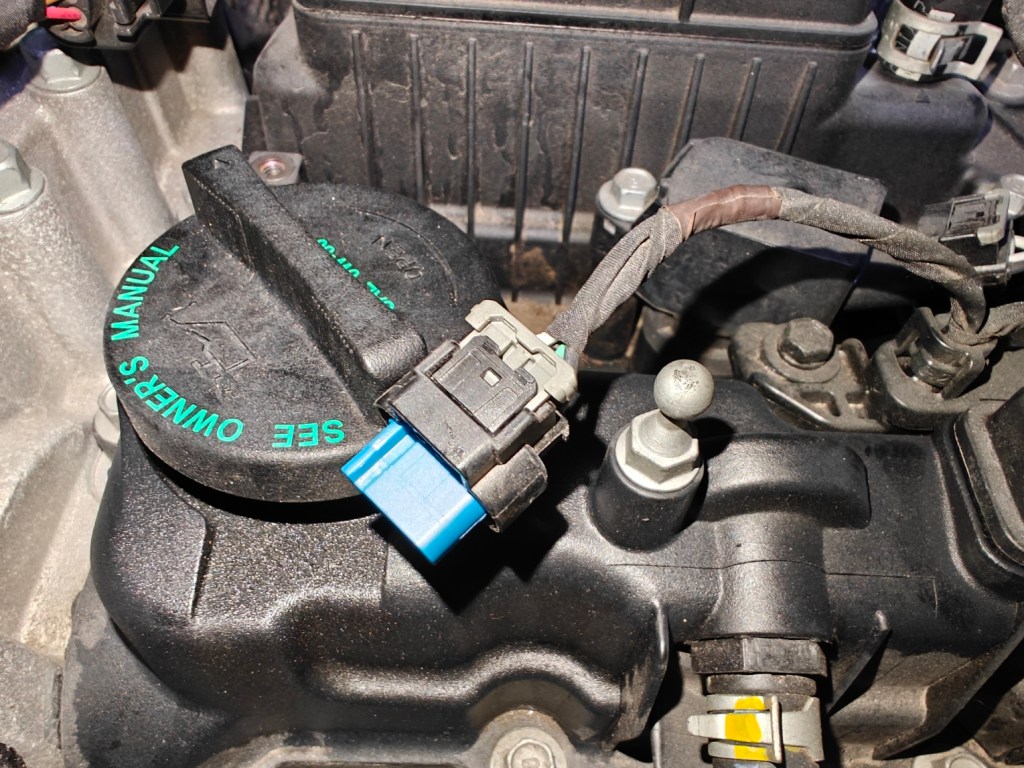
That will clear the way for each coil pack, which is only held on by a single 10mm bolt. Once you pull the coil pack out, disconnect it (if you’re swapping coil packs). In order to remove the electrical clip from the coil pack, pull back on the little grey piece pictured, which will unlock the plastic clip and allow you to disconnect it. 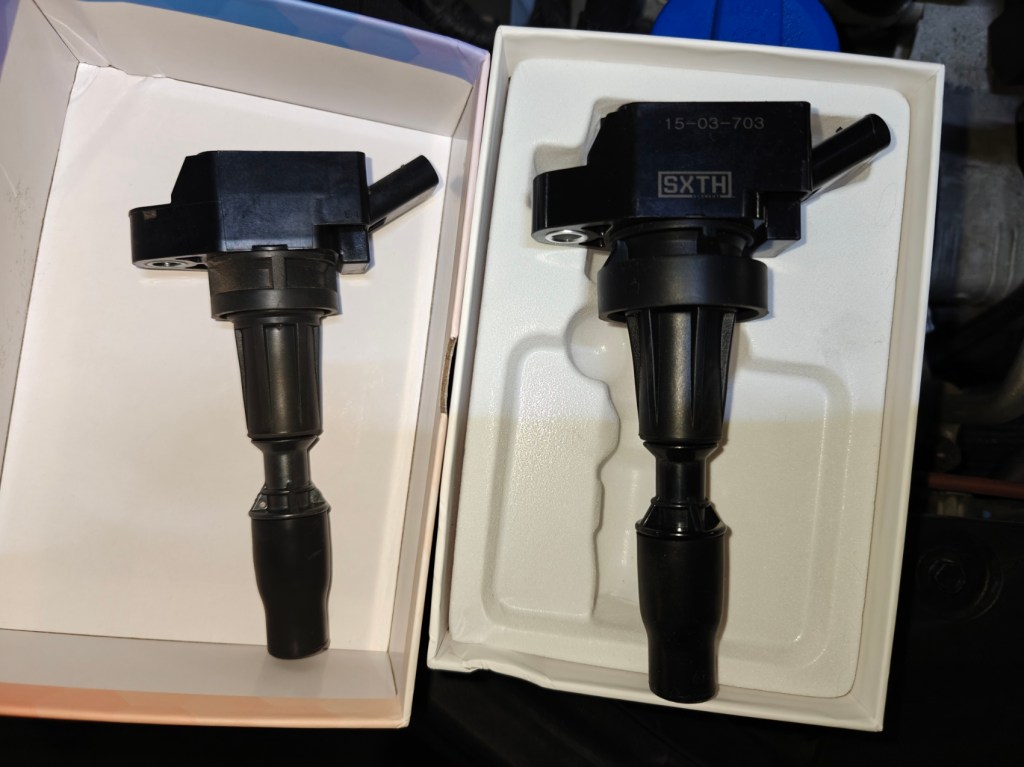
If swapping coil packs only, you can connect your new coil now, insert, and tighten down with the 10mm bolt. 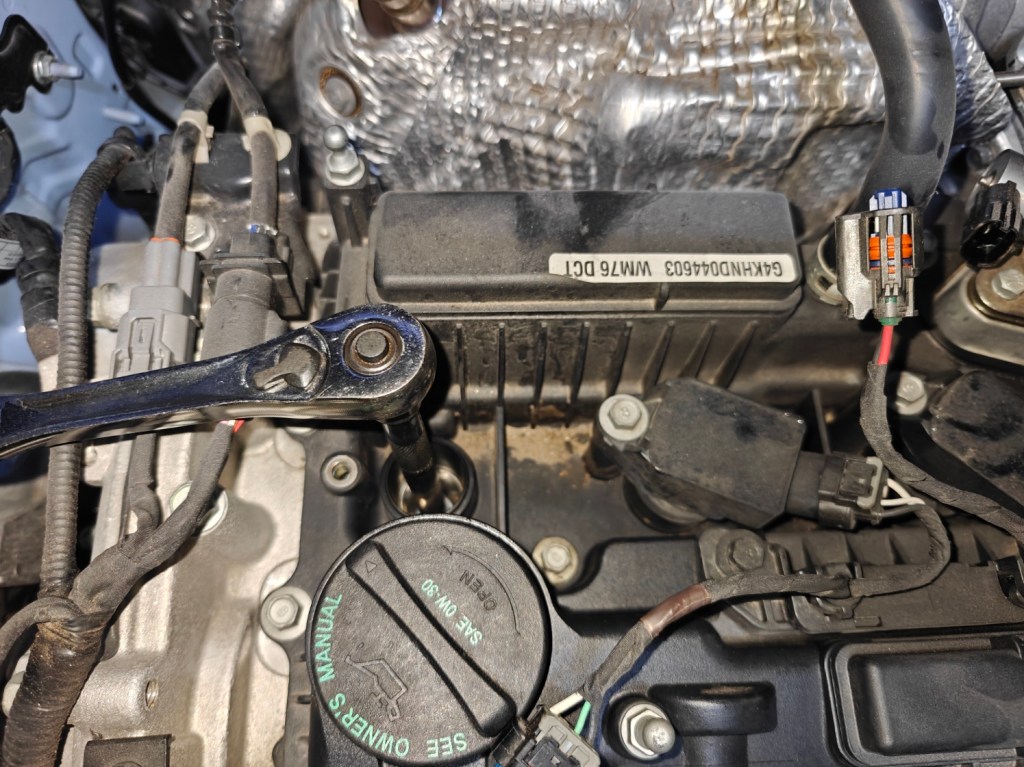
The Veloster N uses a standard spark plug socket (came with my tool set), so I used that + an extension to remove each spark plug. I do them one at a time. 
Swapped for OEM spark plugs. The originals look ok, but glad to swap them. Insert the spark plug into the spark plug socket and tighten down. I put about 20lbfts on them. 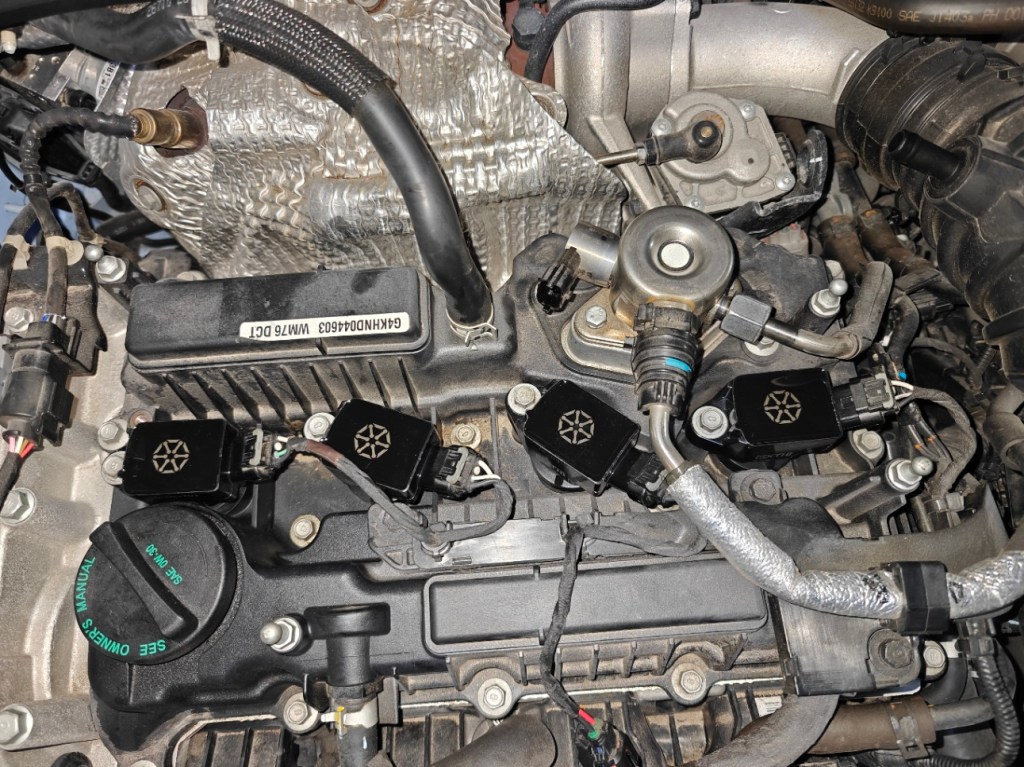
Each coil pack & spark plug installed.
Change felt pretty immediate once I started the car up. A little bit smoother overall, which I assume is due to the new spark plugs, which were OEM N’s. Given how they looked, I’ll be doing these every 10k miles. I also bought the Sxth Element coil packs. I don’t really expect much from these, they basically look like OEM equivalent coil packs. They claim 5% more output, but that’s basically within OEM margin of error. They do claim they’re more durable, so I’m hoping they’re more heat resistant for autox and track days.


